A visible filter is not automatically a removable filter
A few flakes in poured water can draw attention to a kettle’s spout filter. The tempting response is to pull out whatever sits behind the spout and scrub it. That is too large a leap. Filters differ in their release mechanisms, materials and permitted cleaning methods. Some can be removed by the user under detailed instructions; a generic view through the lid does not establish that permission.
Begin with the exact regional manual for the kettle and confirm the filter’s name, removal instructions and replacement compatibility. This guide concerns only a filter that the owner document explicitly allows the user to remove. It does not authorize opening an electrical housing, taking apart a base, removing switches or detaching a fixed spout assembly.
Keep three possible findings separate throughout the job: loose deposits on an intact filter, incorrect seating of an otherwise suitable part, and actual damage. Cleaning addresses the first; correct documented refitting addresses the second; the third may require a compatible replacement or service advice. Repeating a wash cannot repair a split mesh or restore a broken locating tab.
1. Find the filter sequence in the correct manual
Copy the full model identifier from an accessible label or reliable paperwork. Check the country and document revision, then locate both general safety instructions and the specific filter-care section. Read the entire sequence, including how to put the filter back. A removal instruction without a clear return route is not enough preparation for the task.
The Russell Hobbs 25240 manual describes a filter moving through guides. The Philips HD4686/HD4685 manual describes a different multi-part anti-scale filter arrangement. These are examples of model-specific designs, not two alternative techniques for an unknown kettle. Do not slide, twist, squeeze or unclip your part merely because one of those verbs appears in another manufacturer’s instructions.
Check whether the manual permits separate rinsing, brushing or treatment during an authorized descaling process. Do not assume that permission for kettle descaling automatically covers a removed filter. General Russell Hobbs descaling guidance concerns cleaner suitability and label compliance; it does not identify a release mechanism. An unidentified part should remain in place until the correct instructions or manufacturer clarification are available.
2. Cool, disconnect and prepare a small-parts area
Follow the manual’s cooling and disconnection instructions before touching the filter. Empty the kettle safely as directed and allow residual heat to dissipate. Keep the original matching base away from the wet cleaning area and protect its plug, lead and connectors. Never immerse the kettle or base to reach a filter or rinse an inaccessible recess.
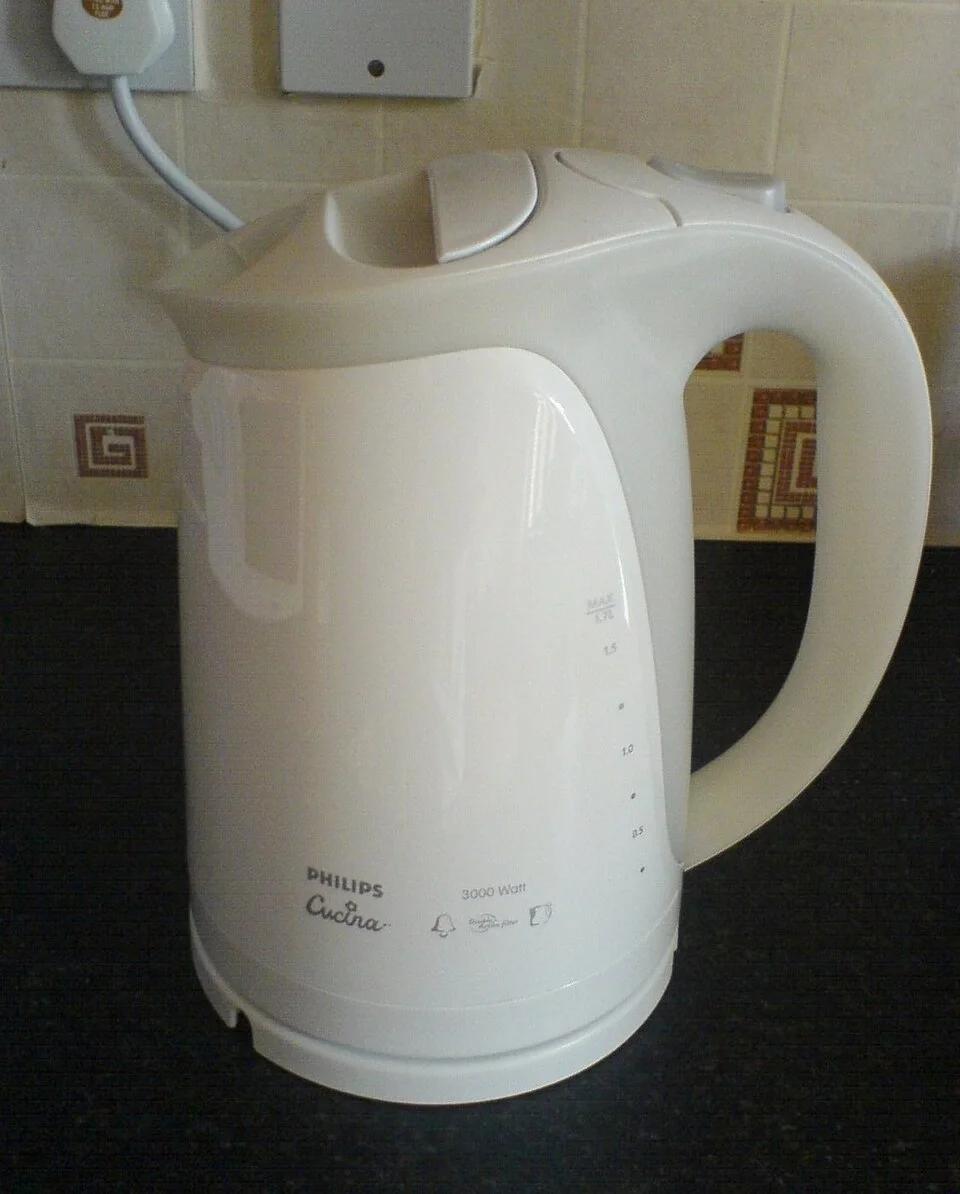
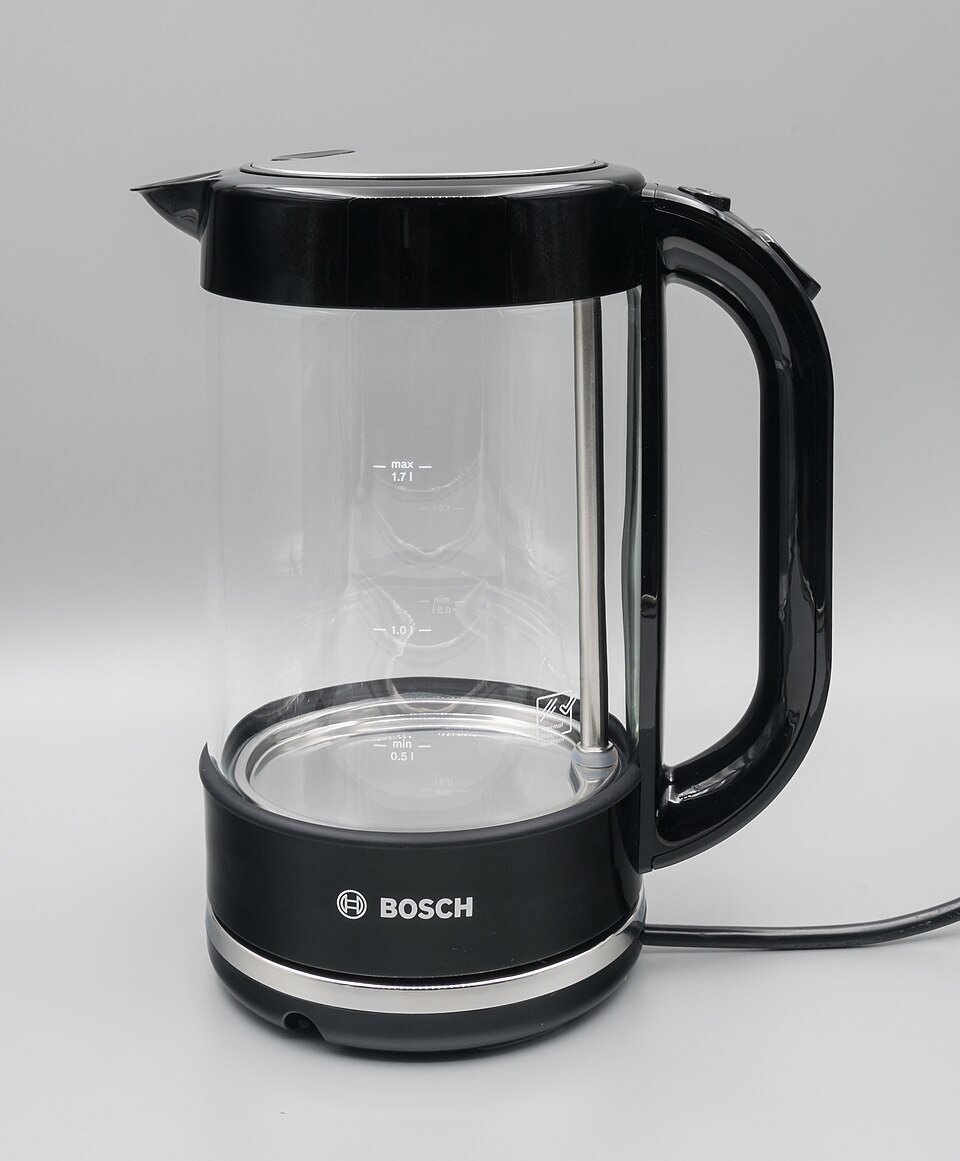
The spout and closed lid identify the area involved in filter access, while the exterior does not reveal a filter catch. Follow the exact model’s cooling, disconnection and permitted-removal instructions before handling. Record the documented orientation and protect the matching base; do not infer a release method from this outside view.
Photo & usage
Rafa · Public domain · Source. Display copies resized and encoded as WebP; no instructional details were fabricated or removed.
Set out a shallow tray or clean landing area for the permitted removable part. If the documented filter has more than one user-separable piece, plan a place for each so none can disappear into a drain. Keep children away from small components. Use only the tools and materials the instructions allow; an improvised metal hook can damage a delicate edge or introduce a new fault.
Before release, note the orientation with a sketch or a photograph taken from permitted access. Record where tabs or guides sit if they are visible, but do not infer an unseen catch. A reference glass-kettle photograph shows a spout and handle, not your filter mechanism. Your own accessible observation is useful only when it agrees with the exact manual’s diagram.
3. Remove gently and describe what is actually present
Support and release the filter using the documented hand movement. If it does not move as shown, stop before increasing force. Scale can make a part look stuck, but that does not authorize levering against the spout. The apparent obstruction might instead be a different design, a missing release step or a damaged support. Resolve that uncertainty through the correct documentation.
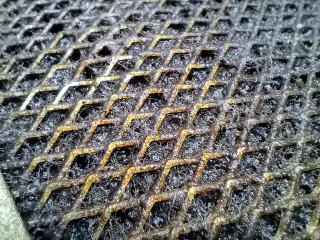
Place the removed part on the prepared surface and look for loose flakes, deposits on the mesh, tears, deformation and missing locating features. Describe the findings plainly. “Three loose flakes visible on the tray” is an observation; “the filter has failed” is a conclusion that needs more evidence. Colour alone does not reliably distinguish scale from every other kind of residue.
Do not flex the mesh to test its strength or pick deposits out with a sharp object. If a part is already torn or a catch is broken, preserve that finding and obtain a compatible replacement route. Keep the kettle out of service if required assembly cannot be restored. Do not operate it with a required filter missing simply to see whether the pouring improves.
4. Clean only within the permitted method
Use the exact rinse, brush or other care method specified for that part. If gentle brushing is allowed, support the filter and avoid distorting its frame or forcing bristles through delicate material. Treat any separable mesh only as the manual instructs. A method that is explicit for the Philips multi-part design must not be transferred to a flat filter from another kettle.
Here is an invented observation example, not a cleaning target. In the same visible area of a removed filter, an initial inspection counts 8 distinct flakes; after permitted cleaning, an inspection counts 2. The visible count is lower by 8 − 2 = 6, a decrease of 6 ÷ 8 = 75%. That is a change in visible count, not a measurement of removed scale mass or total scale.
The example shows why a dramatic-looking comparison can mislead. Record the real condition instead: loose particles rinsed away, deposits still visible, or cleaning stopped because the part appeared damaged. Do not keep scrubbing to achieve a zero count. If further treatment would require chemicals or disassembly beyond the permitted sequence, stop and resolve that permission separately. A filter-care job is not an invitation to begin an undocumented descaling experiment.
5. Refit the correct part in its documented orientation
Check the cleaned filter against the original orientation and manual diagram. Follow any required drying or preparation before return. Reassemble only the pieces the user instructions permit, then engage guides, tabs or holders in the specified order. A part that almost fits should not be pressed harder until it appears flush. Check identity and orientation first, and stop if a locating feature is damaged.
Complete the manual’s seating and lid checks while the appliance remains safely disconnected where required. Look for the documented position rather than an improvised snugness test. Do not add glue, tape, wire or a spacer to hold the filter. If a replacement is needed, match the exact model and part reference; a similar outline or matching colour does not prove compatibility.
Only after proper assembly should you follow any applicable rinse or preparation instructions and return to ordinary operation. There is no need for repeated boiling or pouring trials to prove a filter is seated. If normal use reveals leakage, abnormal pouring or a displaced part, stop and seek advice. Do not adjust a filter while the kettle contains hot water or is connected for use.
Finish by separating the result from the remaining symptom
Record the date, manual reference, permitted method and final condition. Keep a short distinction between deposits removed, seating confirmed and damage found. If the original complaint was flakes in a drink, note whether scale elsewhere in the kettle remains visible from permitted access. That may justify consulting the separate descaling instructions, but it does not authorize immediate chemical treatment.
If flakes recur, avoid assuming the filter alone is responsible. Preserve the history and ask a model-specific question about the correct care and replacement route. A filter does not certify water quality, and its appearance cannot establish a health outcome. This task makes no claim to test drinking water or diagnose the appliance’s internal condition.
Close the job when the authorized cleaning is finished, the correct intact part is seated as required and all return-to-use instructions are satisfied. Otherwise close with a clear limitation: not removed because permission was absent, replacement needed because a tab was broken, or service advice required because the assembly did not match the manual. A truthful stopping statement is more useful than a clean-looking part forced into the wrong position.
THE REFERENCE FILE
Sources & scope
Documentation reviewed 1 Nov 2026. Examples are illustrative; this article does not claim hands-on product testing. Follow the instructions for your actual material, model and location.