Polished porcelain wall tile can show every wiping trail when a window reflects across it. A cloudy band might be detergent residue, grout haze left at installation or a physical change from earlier abrasion. Those possibilities deserve different questions. Scrubbing the entire wall harder before classifying the film can create a sheen problem that survives after the original residue is gone.
Use this guide for identified polished porcelain cladding or a backsplash, with special finishes checked separately. It does not authorize a floor machine or a chemical haze remover merely because the tile is porcelain. The grout, decorative details, sealers and nearby surfaces remain part of the compatibility decision.
Recover the installation history
Find the tile range, finish, grout product and installation date. Ask whether a protective coating or post-installation cleaner was used. A cloudy appearance noticed immediately after grouting has a different context from streaks appearing after a new household cleaner. Keep those dates and product names in the same note.
MAPEI's grout-haze publication explains that cement, ready-mixed and epoxy residues require different approaches. Panaria's installation-cleaning guidance makes a similar distinction between cement and reactive grouts. These are reasons to identify the residue, not to apply their strongest chemical suggestions universally. If the installer cannot name the grout, request that information before choosing a haze remover based only on its white appearance.
Read the dry reflection from two angles
View the tile head-on under diffuse light, then from an angle where a window or lamp reflects across it. Look for wiping arcs, grout-shaped margins and isolated dull patches. A narrow scratch may become visible only in the reflection; a surface deposit may show more broadly. Photograph both views without wetting the tile first.
Do not confuse a printed design or intentional variation with haze. Compare several tiles from the same installed range and any spare sample, recognizing that a spare may not have experienced the same treatment. Mark the affected location on a sketch rather than putting adhesive tape directly on an uncertain finish. Record whether the mark crosses grout joints or stays within one tile face.
Remove loose grit before a trial
Dust the wall gently with a clean soft cloth. Check decorative ridges and lower ledges where grit can collect. Avoid a hard scraper or a cloth used for masonry dust elsewhere. Daltile specifically notes that polished porcelain needs care against fine scratches; its material hardness does not make trapped sand harmless.
Prepare a routine cleaner approved for the actual tile and grout. Keep protection ready for the counter and trims below. Near electrical fittings, use controlled cloth application as permitted rather than direct spray. Do not move an outlet plate to reach a haze line. If cracked grout, loose tile or exposed substrate is present, stop wet treatment at that area and ask about the installation condition.
Make a complete routine-cleaning comparison
Choose a discreet intact area that contains representative haze. Prepare the approved product according to its label. Apply, allow any specified dwell, collect soil and complete the required clean-water removal and drying. A trial using more concentrate than specified does not represent the authorized method.
Wait for full drying and compare reflection from the original position. If the haze disappears without a sheen change, routine residue removal may have answered the problem. If the mark remains, record that result before trying anything else. If new fine lines, dulling or color changes appear, stop. A product's ability to remove film is not a success when the polished face changes at the same time.
Separate three useful working categories
| Clue | Dry result after compatible routine care | Next step |
|---|---|---|
| Haze follows yesterday's wiping route | Clears after residue removal | Correct cleaner preparation and rinsing |
| Film has existed since grouting | Remains over faces and near joints | Identify grout and request its removal method |
| Dull circle follows previous scouring | Unchanged with no loose film | Ask the tile supplier about finish alteration |
| Cloudy strip lies behind trim | Area is inaccessible without dismantling | Ask installer about access and compatibility |
These invented observations are not a chemical test. An installation film may also carry household dirt, so a partial improvement does not prove that the remainder needs more of the same cleaner. State exactly which part improved and which outline remained. That comparison reduces guesswork when the grout or tile manufacturer reviews the problem.
Check every restriction before specialist removal
If a residue remover is recommended, obtain its compatibility with the tile finish, grout, trims and adjacent counter. Cement-residue removers and epoxy-residue removers are not interchangeable. Polished surfaces may have tighter tool restrictions than textured products. Follow the actual cleaner's permitted contact time and preparation rather than generalizing from a manufacturer's example for another range.
A spare tile can help evaluate a proposed method where the supplier recommends testing, but it cannot reproduce an installed joint or unknown coating. Keep the first installed trial small and fully inspect the dry result. Do not increase acid strength, use steel wool or run an abrasive eraser over the whole wall to speed progress. If the supplier cannot establish compatibility, arrange a restoration assessment rather than experimenting at scale.
Calculate a manageable trial boundary
Suppose an illustrative wall contains twelve tiles, each 30 by 60 centimeters. Ignoring joints, the face area is twelve multiplied by 0.18 square meters, or 2.16 square meters. A 10-by-10-centimeter trial covers 0.01 square meters. That is about 0.46 percent of the tile face area: 0.01 divided by 2.16, multiplied by 100.
The comparison shows why a controlled trial limits exposure, but its size is illustrative and does not establish a manufacturer's required test area. Nor can a good result guarantee every tile will behave identically. Include representative decorative details where applicable and allow the full observation period specified by the product. Do not treat a tiny fresh patch as permission to ignore the assembly's remaining restrictions.
Remove the solution as carefully as the residue
Specialist products often fail in practice when loosened material is left to dry back on the tile. Prepare collection cloths, clean water and the permitted tools before starting. Complete one area at a time so the contact window remains manageable. Change rinse water and cloth faces to avoid laying a thin new film across finished tiles.
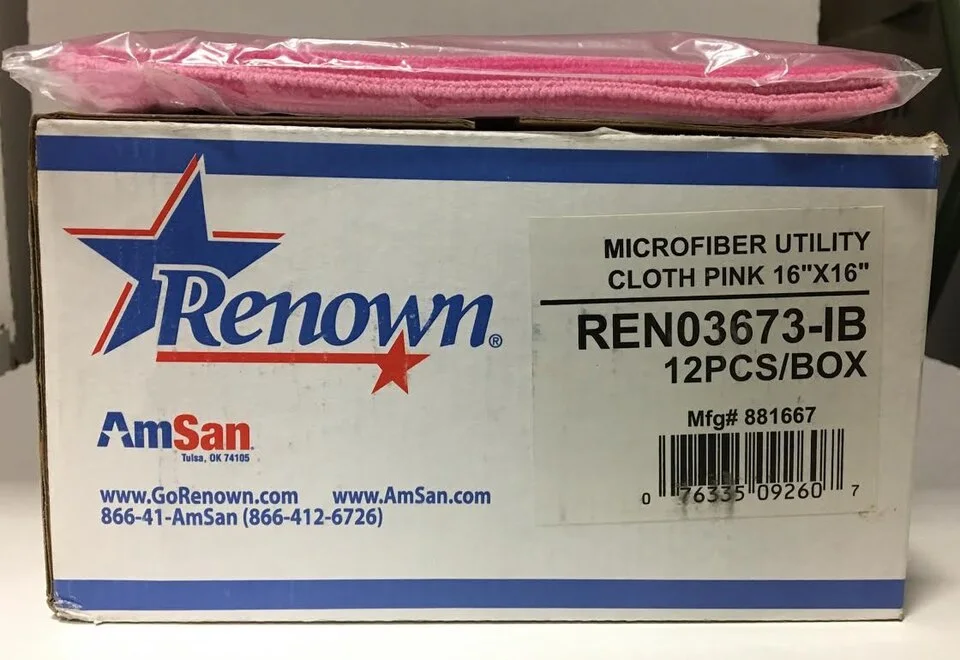
The wrapped cloth illustrates setting aside removal supplies before a timed tile treatment. Prepare enough separate cloth faces for collecting loosened material, removing permitted cleaner and drying edges. The box identifies this cloth product only; it provides no evidence that a particular porcelain polish or grout remover is compatible. Follow the selected cleaner’s removal sequence and change loaded cloths promptly.
Photo & usage
Excel23 · CC BY-SA 4.0 · Source. Display copies resized and encoded as WebP; no instructional details were fabricated or removed.
Keep runoff off sensitive counters and paint, and dry lower edges where solution collects. Do not mix products in a bucket or apply a second agent over an incompletely removed first one. If the authorized method stops improving the surface, preserve the result for the supplier. Repeated exposure without progress adds risk while making the history less clear.
Decide what a completed wall should look like
Inspect the dry wall under its normal room light and the original revealing angle. The goal is removal of deposited film while retaining the intended polish and pattern. There should be no new streaks, tackiness, fine scratches or altered grout. Clean up the counter protection without transferring dirty residue back onto the wall.
Keep unresolved finish changes separate from remaining deposits in the handover note. Record the tile, grout, product and method that succeeded, or the specific point where treatment stopped. A clean wall can still show its designed variation in reflection. Completion means that the removable haze has been addressed and any persistent physical change has an appropriate next decision, not another automatic round of stronger cleaning.
THE REFERENCE FILE
Sources & scope
Documentation reviewed 1 Nov 2026. Examples are illustrative; this article does not claim hands-on product testing. Follow the instructions for your actual material, model and location.