Measure the drink rather than trusting the word cup
One person’s cup is a small tea serving; another’s is a large mug with room for milk. A kettle’s printed cup scale may use neither volume. Measuring the water actually wanted for familiar drinks gives the household a practical filling reference, provided the result stays within the appliance’s marked operating limits. The aim here is consistent preparation, not a claim about energy or cost savings.
Choose the cups used most often and decide the normal water level in each. Allow for ingredients added afterward, without filling hot drinks to a precarious brim. Work first with cool water and a measuring jug on a level surface. There is no need to boil water while establishing cup volumes. Keep this measuring exercise away from the kettle base and electrical connections.
Write down which cup was measured, its intended serving level and the resulting water volume. A note such as “blue mug, usual tea level” is more usable than “one cup.” If several people prefer different levels in the same mug, record those as separate demands. Measurement should reflect the household’s actual servings rather than impose a nominal cup size.
1. Establish the kettle’s operating boundaries
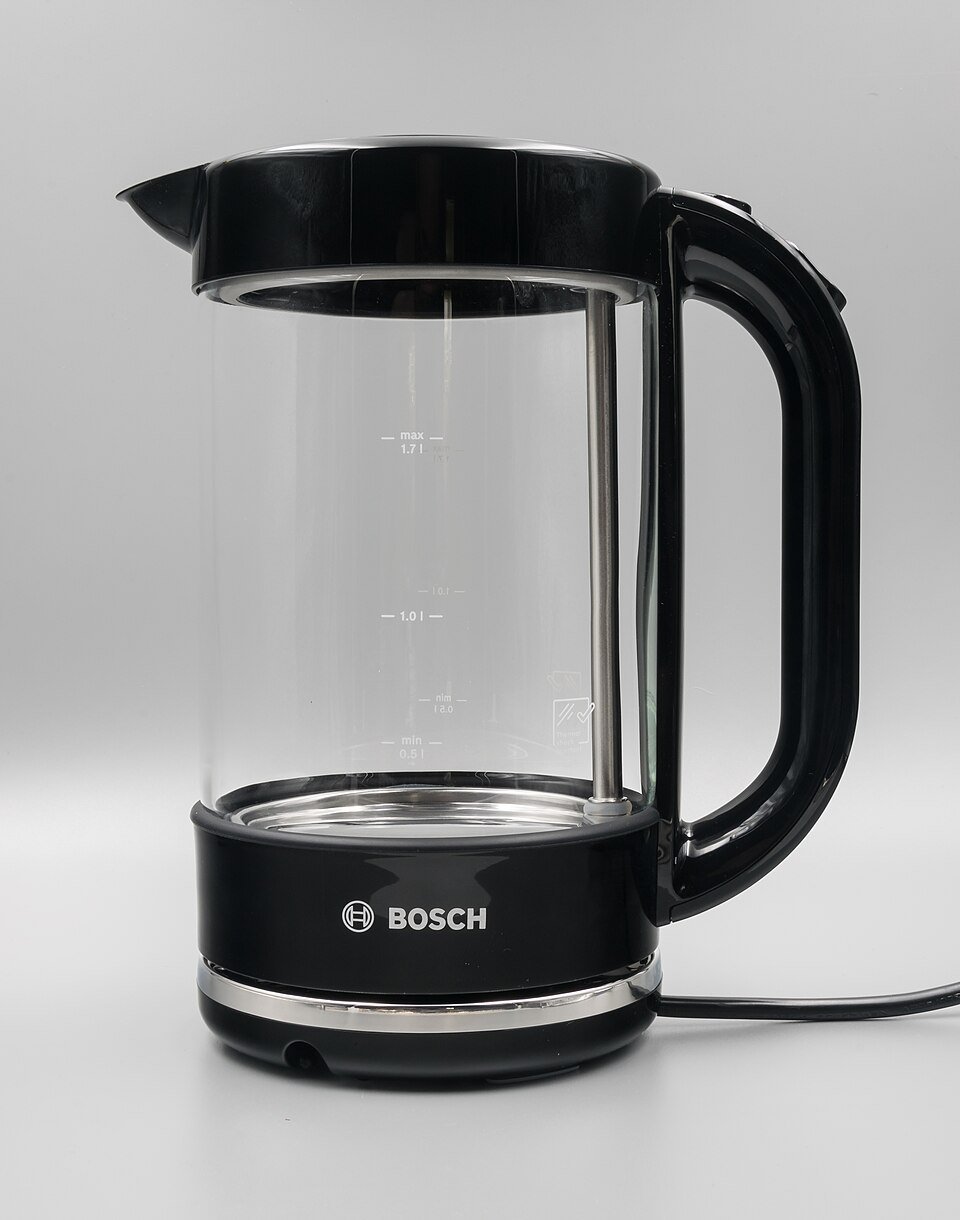
Bosch UK’s manual finder is one example of retrieving documentation by complete model identity. Read the owner instructions for the complete model and regional version, and identify the minimum and maximum fill requirements. Some limits are shown on an internal scale, others on a window or in a diagram. Confirm how the manufacturer expects the level to be read. A small demand does not permit filling below minimum, and a large round of drinks does not permit exceeding maximum.
The kettle and separate base are visible together, providing an identity reference before checking operating limits. Retain the complete model and regional manual, including permitted fill levels and the authorized base. A similar shape, fitting connection or familiar brand does not establish compatibility with another kettle or a descaling route.
Photo & usage
MASA (talk)(投稿者本人撮影) · CC BY-SA 3.0 · Source. Display copies resized and encoded as WebP; no instructional details were fabricated or removed.
Keep the original or manufacturer-authorized matching base with the kettle. The Philips HD4686/HD4685 manual specifies its original base, and the Russell Hobbs 25240 instructions specify the supplied stand. These are model examples, not evidence that any physically compatible base is acceptable. If the base identity is uncertain, settle that issue before operating the appliance.
Check the normal preparation instructions as well: safe positioning, filling off the base where directed, lid closure and the intended heating operation. A cup-volume chart is not a substitute for these requirements. Do not use boil-dry protection as a way to discover a minimum level. If markings are illegible or contradict the document, obtain clarification instead of creating your own operating limit.
2. Measure each familiar serving with cool water
Fill the first cup to its chosen drinking level using cool water. Transfer that water to a suitable measuring jug, taking care to read the liquid-volume scale rather than flour or sugar markings. Set the jug level and view the scale as its design requires. Record a sensible rounded volume if the graduations do not support fine precision. Do not claim accuracy to the millilitre from a coarse kitchen scale.
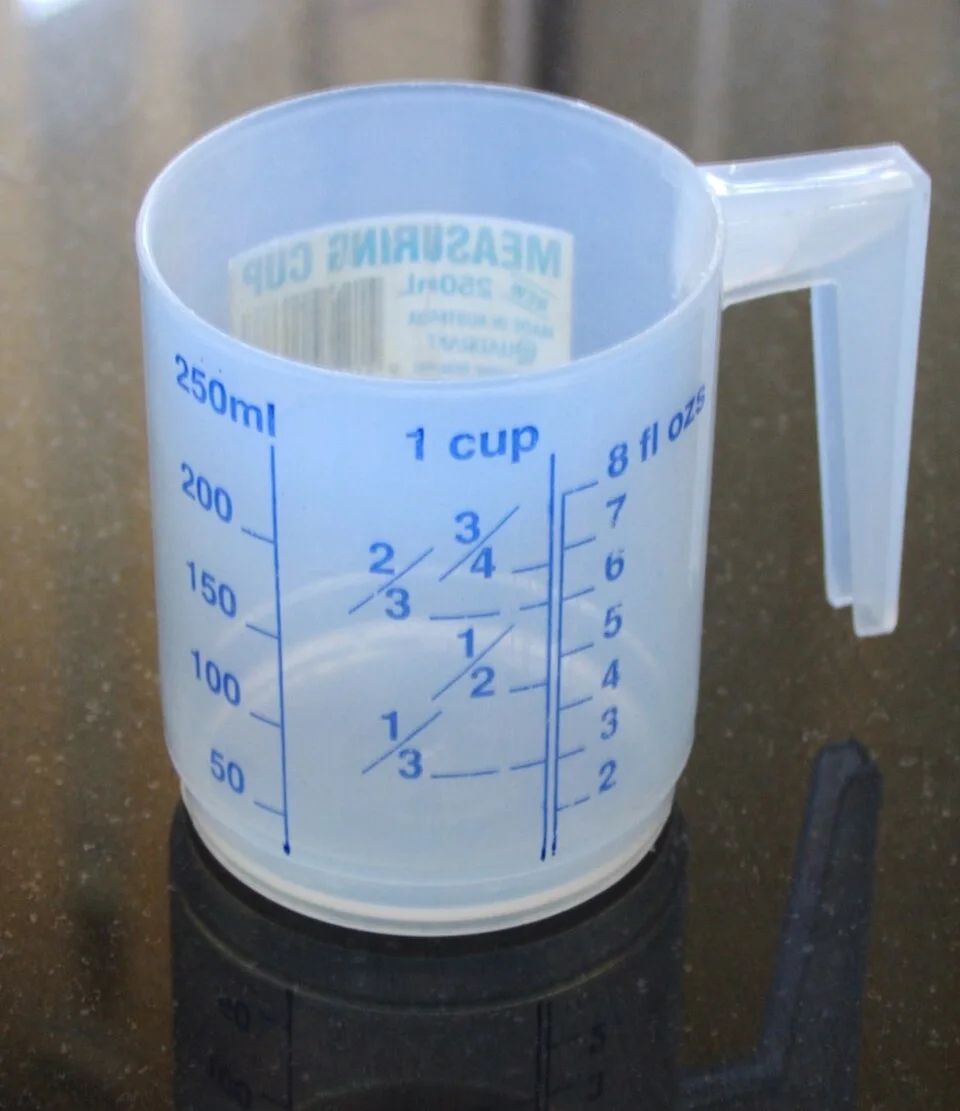
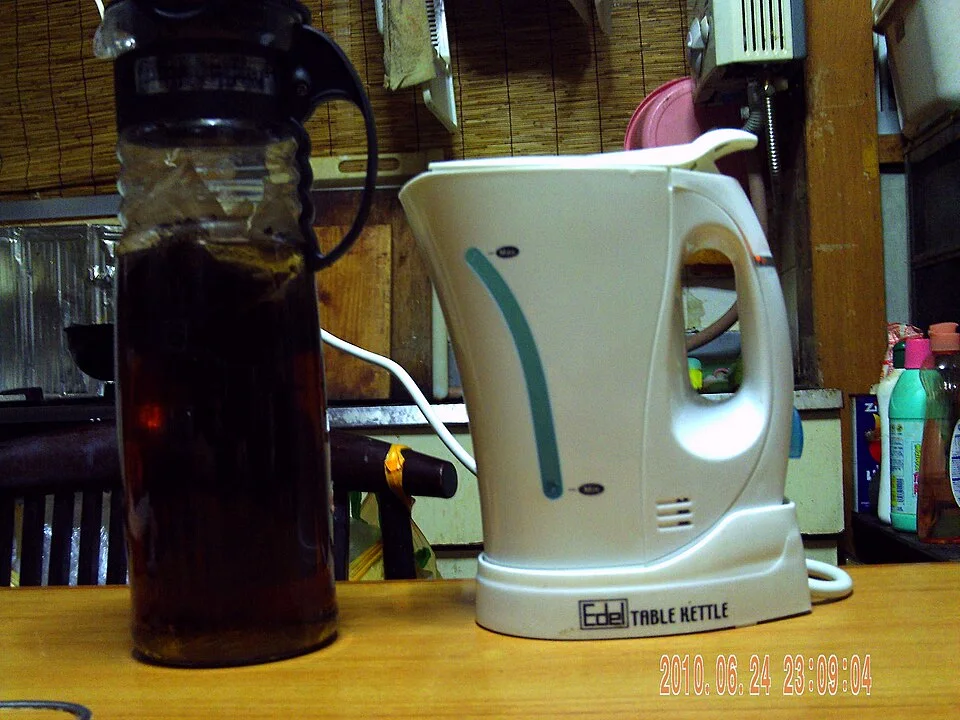
The cup places millilitres beside cup fractions and fluid ounces, illustrating why the chosen liquid unit must stay explicit. Transfer cool water from the familiar serving cup, set the measuring vessel level and read as its design requires. Repeat an uncertain serving level rather than reporting precision finer than these graduations support.
Photo & usage
No machine-readable author provided. Batty~commonswiki assumed (based on copyright claims). · Public domain · Source. Display copies resized and encoded as WebP; no instructional details were fabricated or removed.
Repeat once for the same cup if the level was difficult to reproduce. A substantial difference is a reason to clarify the serving line, not to average away a spill. Then measure the other common cups. Dry the surrounding work area afterward so the kettle and its base can later sit on a dry, stable surface.
Use the jug only to measure and transfer water in a way the kettle instructions permit. Do not immerse the kettle or base, pour water over the connector, or fill an energized appliance. Keep hot-water handling out of this measurement stage. If a cup is awkward or heavy, measure smaller cool-water transfers rather than trying to balance it above electrical equipment.
3. Apply the minimum and maximum to the total
Here is an invented example, not the specification of either cited kettle. Suppose a hypothetical kettle’s verified instructions allow fills from 500 mL to 1,500 mL. The household measures a tea cup at 220 mL and a mug at 310 mL. One of each requires 220 + 310 = 530 mL, which lies within those hypothetical limits. Two mugs require 2 × 310 = 620 mL, also within them.
One 220 mL serving alone is below that hypothetical 500 mL minimum. The chart must therefore say “at least the verified minimum,” not “fill to 220 mL.” Four mugs require 4 × 310 = 1,240 mL, within the range; five require 1,550 mL, which exceeds maximum by 50 mL. That demand needs separate compliant fills, not extra water above the line.
Do not transfer the 500 mL or 1,500 mL figures to your kettle. Replace both with its actual requirements before using the comparison. Manufacturer cup marks also need their own interpretation: Russell Hobbs 25240 includes internal cup markings, but a household mug measurement should not redefine those marks. The controlling boundary remains the applicable manual and actual fill scale.
4. Make a chart that works during an ordinary morning
Choose a few recurring combinations instead of listing every possible number of cups. Beside each combination, record measured demand, the permitted fill decision and any split needed. For a below-minimum demand, display the minimum requirement prominently. For an above-maximum demand, write a plan for separate fills that each independently satisfies the limits. Never rely on a second fill being exempt because the kettle is already warm.
Keep the chart beside the beverage supplies rather than on a hot kettle surface or across a viewing window. Leave safety labels and markings unobstructed. Use clear units throughout: millilitres or litres, with any conversion shown. For example, 1,000 mL equals 1 L. Mixing an unexplained number of “cups” with litres recreates the ambiguity the chart is meant to remove.
A measured demand is not a guarantee that every serving will be identical. Small transfer losses and preference changes occur. If you choose an allowance, identify it explicitly and confirm the final fill remains below maximum. Do not keep adding an unmeasured extra splash to every calculation. A habitual allowance can quietly defeat the usefulness of a carefully measured reference.
5. Use the reference without turning boiling into a trial
For an ordinary drink round, select the matching combination and fill according to the kettle’s instructions. Read its actual level markings before starting. Check that the exterior, connector area and base remain dry as required, the lid is properly closed and the appliance is correctly seated on its matching base. Do not boil solely to test a spreadsheet result when the cool-water calculation already reveals a limit problem.
If the amount after pouring differs from the expected servings, note whether the cup level changed, water spilled or the intended combination was misread. Adjust the demand record using cool measurement later. Do not infer a fault or calculate electricity savings from that discrepancy. Measuring water demand does not measure heating efficiency, standby behaviour or energy consumption.
Stop using a damaged or malfunctioning kettle and follow its support instructions. Spitting, failure to switch off, a damaged lead or an uncertain base is not a cup-chart problem to solve by changing volumes. Do not open the housing, probe contacts or deliberately reproduce an abnormal event. Preserve a brief description for service instead of repeating it.
Finish when every usual serving has a compliant route
Review the chart with the people who will use it. They should be able to identify the cup, read its water demand and see whether the kettle’s minimum or maximum changes the plan. A child or visitor should not need to interpret a complicated calculation while handling hot water. Keep appliance supervision and user restrictions from the manual in place regardless of how simple the chart looks.
Recheck the reference when a favourite mug changes, serving preferences shift or the kettle is replaced. A replacement appliance brings new limits and potentially a different base, so the old chart cannot remain an operating instruction. Retain cup measurements if useful, but recalculate every fill decision against the new appliance’s documents.
The task closes when the recurring combinations have explicit permitted fills, below-minimum demands are handled honestly and larger rounds have a safe split plan. There is no need to promise a financial or environmental outcome. A practical result is enough: fewer guesses about what the household means by a cup, while the kettle’s documented boundaries remain easy to follow.
THE REFERENCE FILE
Sources & scope
Documentation reviewed 1 Nov 2026. Examples are illustrative; this article does not claim hands-on product testing. Follow the instructions for your actual material, model and location.