Do the layout work before cold groceries arrive
The right time to discover that a storage box prevents the door closing is before returning from the shop. Plan with the refrigerator in ordinary use, using brief access and measurements already available from containers. Keep the door closed while sketching alternatives. On shopping day, prompt cold storage takes priority over the sketch; do not leave perishables waiting while redesigning a shelf.
This is a fit and organisation exercise for a refrigerator already providing dependable cold storage. Where food history is uncertain, make the food decision first using applicable FDA guidance. A layout trial cannot clear food after a warm interval and should not delay protective action.
Prepare a simple interior sketch, the exact model's user manual and the outside dimensions of your usual containers. Add lids, handles, clips and pouring spouts to those dimensions. A tub sold by its internal capacity may occupy substantially more shelf space than its nominal size suggests. Use your existing containers first; a purchase is unnecessary until a specific fit problem has been established.
Mark the model’s actual outlets and returns
Step 1 is to identify the appliance accurately and find its official user instructions. For a Whirlpool appliance, the manufacturer's manual finder provides a starting point. Match the full model and region. A drawing of a similar refrigerator is not a reliable map of yours, especially where a special drawer or internal duct changes the available space.
On your sketch, mark the visible air outlets and return openings identified in the manual. Note special compartments and any placement directions. Confirm the visible positions during the next normal opening. Do not remove covers to find concealed routes. If you cannot confidently identify an opening, keep it clear and ask manufacturer support rather than assuming it is decorative.
Whirlpool's product guidance identifies blocked air vents as a concern. That supports preserving airflow, but it does not create a universal gap around every container. Copy a clearance only when the exact manual states it. Do not infer a shelf loading weight from a photograph or apply a box-stacking rule borrowed from another model.
Measure the space the container must move through
Step 2 records usable shelf width, depth and height at the intended position, including intrusions. Work only within ordinary user access. Do not rest tools against fragile fittings, remove a loaded shelf or hold the refrigerator open for a long measuring session. Obtain one missing dimension at a time during convenient access, then close the door and update the drawing.
Distinguish resting space from the removal path. A container might sit under a shelf but need extra height to lift its clip or tilt past a lip. A deep tub may fit behind the front edge yet collide with a door bin on closure. Record the narrowest part of the route, not just the widest open area you can see.
Measure a container outside the refrigerator, with its actual lid fitted. Record any handle that projects when carried. If you are considering an additional organiser, include its walls and handles in the fit calculation and leave the model's required openings unobstructed. An organiser can reduce usable space even when its advertised capacity sounds generous.
Compare container footprints with explicit limitations
Step 3 checks a paper alternative before moving food. The following invented dimensions illustrate arithmetic only. They are not refrigerator specifications, vent clearances, shelf ratings or a recommendation for any product. Suppose a mapped usable patch, already excluding model-required clear space, is 42 cm wide and 30 cm deep.
| Plan | Outside footprint of each container | Two side by side | Paper finding |
|---|---|---|---|
| A | 19 cm wide × 27 cm deep | 38 cm total width | 4 cm width remains in the patch |
| B | 22 cm wide × 29 cm deep | 44 cm total width | 2 cm too wide |
Plan A leaves 42 − (2 × 19) = 4 cm across the mapped patch and 30 − 27 = 3 cm in depth. Plan B needs 2 × 22 = 44 cm, exceeding the width by 44 − 42 = 2 cm. Those remainders are geometric results, not ventilation instructions. Height, opening path and door-bin interference still need separate checks.
Do not turn a failed side-by-side plan into an assumed stack. Stacking can conceal labels, obstruct retrieval or exceed permissions that the paper comparison never considered. Choose a different container or another permitted position, then reassess the actual route.
Assign suitable food before filling every space
Include the household member with the shortest comfortable reach in this decision. Ask which ordinary container they can lift securely when it is full. A position convenient for one person may require another to tilt a heavy dish or support it against the door. Change the assignment on the sketch while the refrigerator is closed. Keep special compartment controls and removable-bin handles available to the person who uses them. This is a choice about access with your actual containers, not permission to alter fixed fittings or exceed any stated shelf capacity.
Step 4 adds food categories to the drawing. Keep raw meat, poultry and seafood securely contained and separated from ready-to-eat food, in a position where leakage cannot drip onto it. Preserve any model-designated storage conditions. Do not assume the door is suitable for a particular perishable simply because its bottle shape fits a bin.
Give frequently retrieved containers an accessible position within those constraints. Put labels toward the approach and avoid arranging broad containers so that one must be removed to reach everything behind it. Reserve a realistic place for incoming refrigerated groceries and covered leftovers; filling every visible rectangle on the sketch leaves no room for ordinary changes in the household's meals.
On shopping day, place cold foods promptly in their suitable locations and close the door. Record any mismatch afterwards: lid touches shelf, tall bottle strikes bin, drawer cannot open fully, or tray hides an air return. These concrete observations are more useful than “fridge too small.” Change the container assignment before considering whether a shelf position may be adjusted under the manual.
Confirm the layout during normal retrieval
Step 5 is a practical fit check without a prolonged open-door session. During normal use, gently close the door and confirm drawers seat normally. Never force closure against a container. If a door or drawer does not close, remove the obvious loose obstruction promptly; do not keep testing it under pressure or bend an internal fitting to gain a little space.

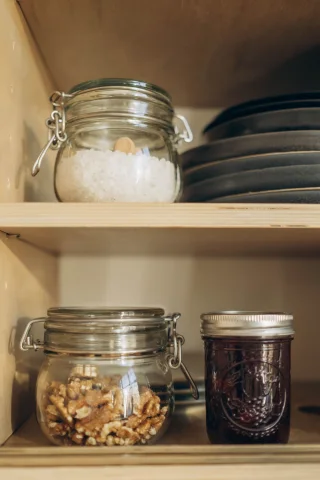
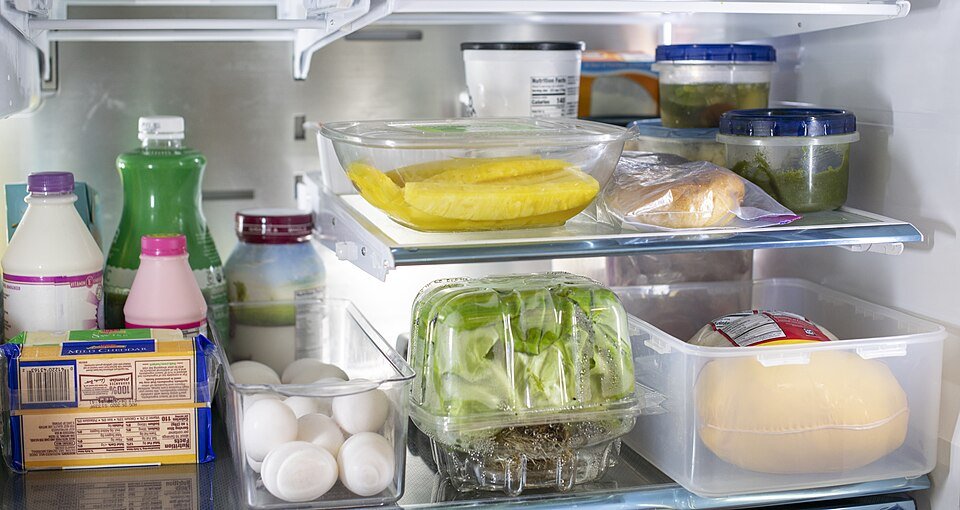
The shelf fronts, containers and drawer openings illustrate the access constraints to check during ordinary retrieval. Preserve the actual thermometer’s reachable viewing position when assigning storage, although no thermometer is shown here. Confirm normal door and drawer closure without forcing containers; this arrangement supplies no temperature result or model-specific vent clearance.
Photo & usage
USDAgov · Public domain · Source. Display copies resized and encoded as WebP; no instructional details were fabricated or removed.
Next, retrieve one planned item and return it as part of an ordinary meal. Note whether you must move several unrelated packages, tilt a leaking container or reach past raw food. A layout that technically fits can still fail this access check. Revise one position at a time on the drawing and confirm it at a later normal opening.
The thermometer reference photograph shows a hand checking an appliance thermometer below a shelf. It reminds you that routine monitoring must remain accessible; it does not map vents or validate a container arrangement. Completion means air openings remain clear under the actual model's instructions, containers and lids fit, normal retrieval is manageable, and every door and drawer closes without pressure. A repeated cooling concern belongs in a separate food-protection and appliance assessment.
THE REFERENCE FILE
Sources & scope
Documentation reviewed 1 Nov 2026. Examples are illustrative; this article does not claim hands-on product testing. Follow the instructions for your actual material, model and location.