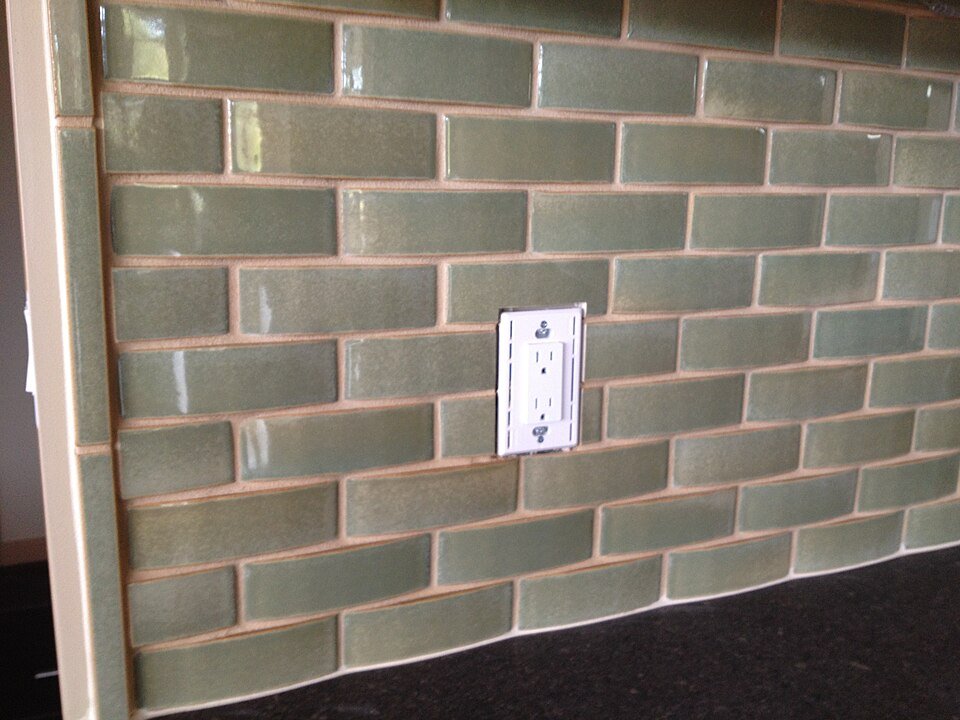
Cooking film on a glazed ceramic backsplash can be easy to feel and difficult to remove evenly. A quick spray may run down before it loosens the grease, leaving detergent on the counter and dirt in the grout. The answer is a controlled sequence that gives an approved cleaner its specified contact time and then actually collects the loosened material.
This guide addresses routine cooking residue on identified glazed ceramic wall tile. Decorative metallic glazes, crackle finishes, handmade tiles and stone borders need their own instructions. Keep post-installation grout haze separate from later kitchen grease: those problems can look similar in side light but do not necessarily need the same chemistry.
Read the whole backsplash assembly
Find the tile range and grout type from an invoice or installer. Include borders, trims and any sealer. A cleaner labelled for ceramic may still be unsuitable for a decorative finish or adjacent stone counter. Daltile's tile-care guidance explicitly includes grout compatibility in the cleaning decision, while MAPEI distinguishes grout families and their care requirements.
Look for cracked joints, loose tiles and failed sealant before introducing liquid. Do not press on a loose tile to decide whether it is secure enough. Record damaged details and keep wet work away from them. Identify electrical outlets and switches in the splash area; do not spray into them, remove their covers for cleaning or allow solution to run behind the plates.
Separate grease from installation residue
Ask when the film first appeared. A cloudy layer present from installation may be grout residue; a yellowish or sticky patch following cooking activity is a different clue. Note whether the film stops at a splash guard or follows the route of a dirty cloth. Record any wax, polish or strong cleaner already used.
Panaria's post-installation guidance treats cement and reactive-grout residues differently and sends hardened reactive residue back to the grout maker. Those instructions are not a routine degreasing recipe. If the history points to installation haze, identify the grout before choosing a remover. Likewise, a pale dull patch after a previous cleaner may be a changed glaze rather than a deposit waiting to be dissolved.
Prepare the wall and catch the runoff
Let cooking equipment cool and follow its instructions for safe access. Remove food, utensils and loose items from below the wall. Protect the counter with a compatible arrangement that will not trap a spill unnoticed against sensitive stone or wood. Keep clean cloths and a small collection container within easy reach.
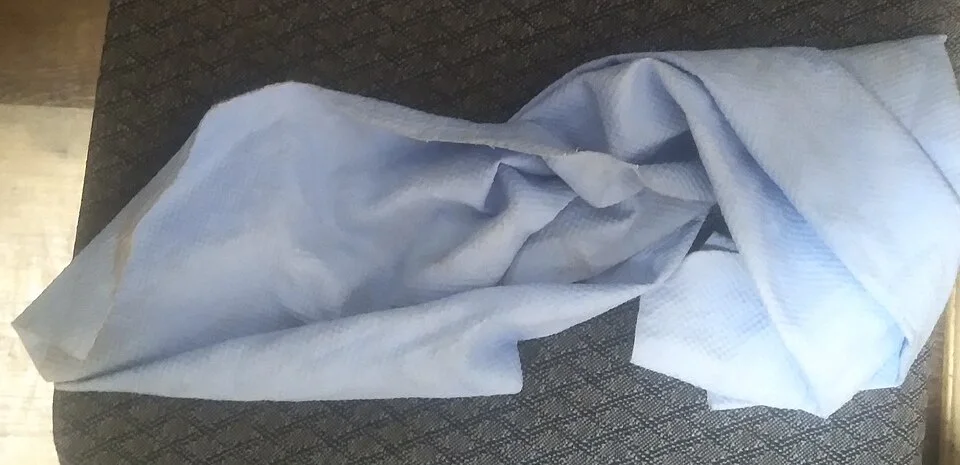
The loose folds and edges show why cloths need checking before they are assigned to collect runoff. Prepare your own clean, soft, compatible cloths and a small collection container before wetting a backsplash section. This cooling towel is a textile reference; it does not establish absorbency, cleaning suitability or protection of the counter beneath your wall.
Photo & usage
Corn cheese · CC BY-SA 4.0 · Source. Display copies resized and encoded as WebP; no instructional details were fabricated or removed.
Dust or lift loose crumbs first using a soft clean tool. Avoid scraping dried splashes with metal. Use a cloth rather than direct spray near outlets and vulnerable trims, following the cleaner's application directions. Work in sections that can be completed without stretching over appliances or standing on the countertop. If the upper edge is inaccessible, use suitable access equipment or arrange help rather than improvising with a dining chair.
Test the complete cleaning sequence
Select an inconspicuous intact tile and a short sound grout section. Prepare a product approved for both, using the label's dilution. Carry out the entire procedure: application, stated dwell, permitted gentle agitation, collection and rinsing. Do not judge the test while the wall is wet and reflections hide a changed surface.
Check the dry trial for dulling, color transfer, streaks and softened joints. Stop if any appears. A clean tile beside a damaged grout line is not a successful assembly test. Where the tile maker and grout instructions conflict, ask the installer to identify a method compatible with both. A successful test also does not authorize doubling the contact time when the next section is dirtier.
Let the approved dwell do its work
Apply enough solution to maintain the label's required contact without uncontrolled runoff. Where application to a cloth is permitted, that can improve control on a vertical face. Use the specified soft tool to move loosened grease, and do not substitute an abrasive pad because the glaze feels hard. Pay attention to texture and raised edges that can catch the cloth.
Collect dirty solution with fresh cloth faces before rinsing. Use clean water as directed, changing it when it becomes cloudy. Work so contaminated runoff cannot pass over already finished areas or reach an outlet. Dry the lower edge and inspect the counter protection beneath it. Detergent left at the base can recreate a greasy feel even after the wall's soil is gone.
Plan contact time without inventing a recipe
Suppose, illustratively, an approved cleaner requires four minutes of dwell. If a wall section is wetted at 2:10 p.m., its collection stage begins at 2:14 p.m., subject to the label's conditions. Starting five separate sections a minute apart creates five different end times. That may be harder to manage than completing one section at a time.
The four-minute period is invented and must not replace an actual label. The example illustrates sequencing, not a performance claim. Daltile notes that dilution and dwell depend on the cleaning chemical. A timer helps follow those directions; it cannot make an incompatible product safe. If the solution dries too quickly under the allowed conditions, reduce the section size or ask the product supplier rather than increasing the concentration.
Use observations to avoid needless escalation
| Observation | Likely next question | Practical response |
|---|---|---|
| Sticky film gone and glaze unchanged | Was routine grease the issue? | Finish the same permitted method |
| Fresh long streaks remain | Was dirty solution fully removed? | Check cloths and prescribed rinsing |
| White haze present since installation | Which grout residue is involved? | Identify grout and request its haze method |
| Dull island survives with no residue | Has the glaze changed? | Ask the tile supplier before stronger cleaning |
These examples are invented comparisons, not a substitute for identifying the installation. A mixed result can mean more than one problem exists. Record which area responded and which did not, along with the exact product and dilution. That lets the installer address the remaining question without repeating the same unsuccessful treatment across the entire wall.
Protect grout and surrounding finishes
Avoid wire brushes and metal picks in joints. Cleaning should not excavate grout or widen cracks. Where pigment appears on the brush or the joint becomes friable, stop and request assessment. Do not apply grout sealer to a greasy or damp line as a way to make it look cleaner; sealing has its own preparation and cure requirements.
Keep aggressive stain treatments away from adjacent laminate, paint, wood and metal unless each material is specifically compatible. A tiled wall can survive a product that marks the counter beneath it. Use one cleaning product at a time and remove it as directed before any separately authorized next treatment. Mixing cleaners or letting their runoff meet adds uncertainty without proving better grease removal.
Finish with a dry handover check
Inspect under both the room light and a shallow angle that originally showed the film. The glaze should retain its intended sheen, joints should remain firm and no fresh cleaner trails should cross the wall. Check beneath trims and along the counter joint for retained liquid, then remove the protective setup carefully.
Return items only after the relevant drying conditions are satisfied. Note the product and method that worked, and record unresolved haze or damage separately. Prompt attention to fresh splashes can make the routine manageable, but the endpoint remains specific: removable cooking film is gone, cleaner residue is removed and the whole backsplash assembly remains stable.
THE REFERENCE FILE
Sources & scope
Documentation reviewed 1 Nov 2026. Examples are illustrative; this article does not claim hands-on product testing. Follow the instructions for your actual material, model and location.