Matte cabinet doors hide reflections but can emphasize oily fingerprints. A palm mark beside a handle may remain visible after a casual wipe because the cloth spread oil or left detergent behind. The temptation is to reach for an eraser sponge or a heat trick seen online. First identify the surface: ordinary high-pressure laminate and a specialty matte technology do not necessarily share those permissions.
This guide builds a practical routine for door faces, edges and handle zones. It separates everyday cleaning from a maker's specialized stain or repair process. A matte coating over another material may resemble laminate, so treat appearance as a reason to investigate, not a reliable material identification.
Find the product behind the matte description
Check the cabinet invoice, sample label or supplier record. Record the exact surfacing range and whether the edges use the same material. Ask if the doors are laminate, painted board, foil or another construction. A salesperson's description such as fingerprint-resistant does not replace the care document.
Formica's care page explicitly asks users to verify FENIX identity before following its specialist guidance. Its general laminate and specialty-surface instructions differ in meaningful ways. Carl Hansen & Son also distinguishes its laminate products and their restrictions. Use the document for the actual door and avoid importing heat recovery or abrasive permissions from a surface that merely looks similar. If identity remains unresolved, limit the session to gentle dry dust removal on sound areas.
Read the pattern around the handle
View the door both closed and open so side light crosses the touch point. Note whether the mark follows fingers, a broad wiping path or a circular scrubbed patch. A shiny oval can be a physical change from previous rubbing, not an oily film. A line at the edge may involve adhesive or edge damage rather than a dirty face.
Photograph the dry door before treatment. Check for a lifting corner, open seam or swollen lower edge, especially near a dishwasher or kettle. Those defects limit liquid cleaning regardless of the face's stated resistance. Do not test a lifting corner by peeling it farther back. Keep handle polish and glass-cleaning spray away from the panel while assessing it.
Remove dust with a clean face of cloth
Use a soft, nonabrasive cloth free of polish, grit and hard laundry debris. Dust lightly before the damp stage. Work around the handle without pushing particles into the joint or dragging a zipper or watch across the surface. If the door has textured grain, follow the maker's tool guidance rather than assuming a rough brush will reach it safely.
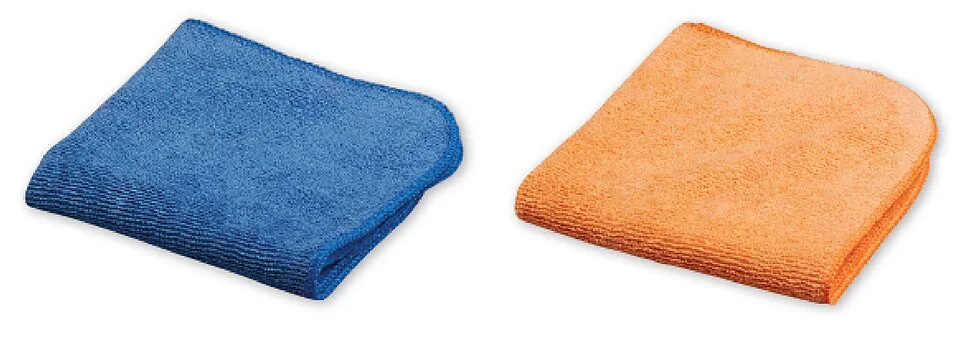
The separate folded cloths illustrate keeping tools distinct for the dusting, residue-removal and drying stages. Assign their roles before approaching the door, and inspect the faces and binding for grit or greasy deposits. Colour alone does not identify cleanliness or abrasiveness. Follow the exact laminate finish instructions, keeping ready cloths away from hob grease and other splash zones.
Photo & usage
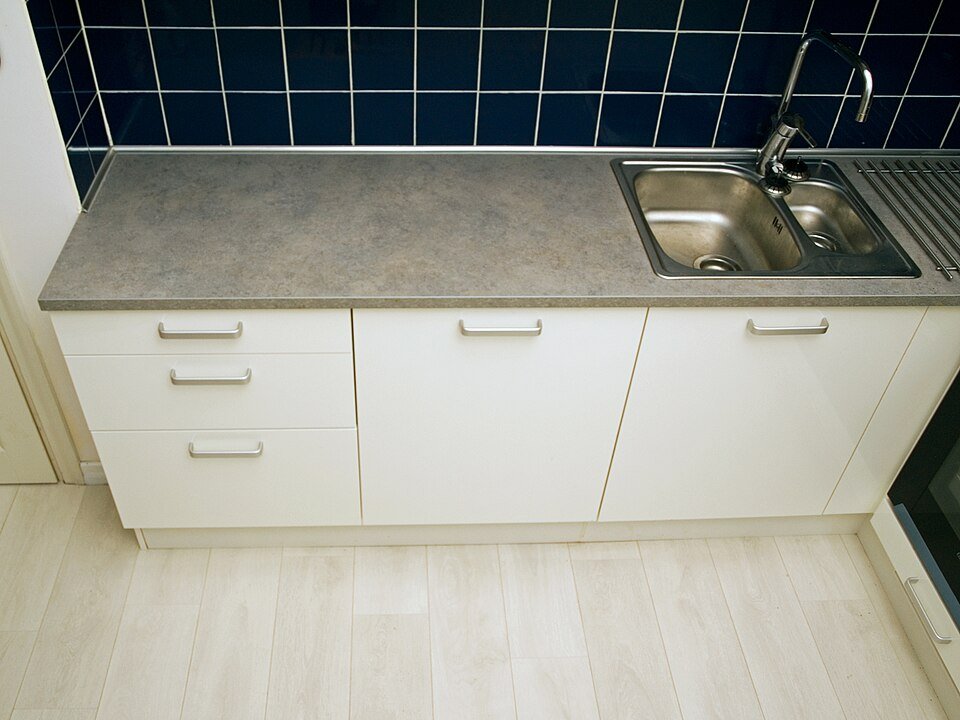
EvSOP HGUM · CC BY-SA 4.0 · Source. Display copies resized and encoded as WebP; no instructional details were fabricated or removed.
Set aside separate cloths for washing, clean-water removal and drying where the care instructions call for them. A cloth used on a greasy hob can spread a new film across a door even when the correct cleaner is selected. Keep the clean cloths on a tray away from splash zones. Their cleanliness is part of the comparison you will use to decide whether the fingerprint remains.
Make one complete trial before cleaning every door
Choose an inconspicuous intact area that represents the visible finish. Prepare the authorized cleaner or warm-water method, then carry out the full procedure, including any rinse and dry stages. Apply liquid as the door maker directs while preventing runoff into joints. A test that stops before residue removal cannot establish the final appearance.
Wait for full drying and compare under the same light. Look for a brighter patch, changed texture, streaks or tackiness. Stop if the trial alters the finish even when the fingerprint disappears. The test does not grant permission for a stronger concentration or a different tool. If the result is stable, clean a manageable portion of the marked door using the identical method.
Remove the lifted oil instead of redistributing it
Use light pressure and change cloth faces as they pick up soil. Where the maker requires clean-water rinsing, remove detergent carefully with fresh water and a separate cloth. Follow with the permitted dry wipe. On a vertical door, work so liquid cannot run into its lower edge or pool around the pull.
Do not assume a second detergent application is necessary merely because a damp patch looks darker. Inspect after drying first. If broad streaks replace the original fingerprint, check cloth cleanliness and residue removal before choosing another product. For an approved specialty matte surface, follow its precise instructions about cleaning the microstructure. Those instructions describe that technology; they should not be rewritten as general permission for every low-sheen kitchen panel.
Compare outcomes with a decision table
| Result | What it suggests | Next move |
|---|---|---|
| Finger shapes gone; texture unchanged | Removable hand oil was present | Repeat the documented routine as needed |
| New wide wiping bands | Residual cleaner or redistributed soil may remain | Check the prescribed removal stage |
| Persistent glossy circle | Prior burnishing or finish alteration is possible | Ask the supplier about repair |
| Raised lower edge | Construction damage may be involved | Keep liquid away and obtain assessment |
These invented observations explain why visible marks lead to different decisions. They do not establish a failure rate or prove a material defect. Keep the original and final photographs together with the product used. The most useful account says what changed during the complete authorized procedure, rather than stating that the door would not come clean.
Evaluate special methods literally
Some manufacturers permit particular melamine tools on particular products, while prohibiting conventional abrasive pads. Other finishes have different restrictions. Do not convert that detail into the claim that all eraser sponges are safe for matte laminate. Likewise, a thermal recovery instruction may address a specified material and damage type under defined conditions, not oil residue on an unidentified door.
Avoid heat, solvent and abrasion until the exact care sheet authorizes the technique and explains its boundaries. Protect nearby edge adhesives and hardware where required. A small successful hidden trial does not override an explicit prohibition. If the proposed method lacks clear instructions for your range, ask the supplier with the product code and photographs. That is a focused material question, not a reason to keep experimenting with stronger household cleaners.
Arrange future cleaning by touch points
For an illustrative bank of eight doors, suppose only three show hand marks while all eight are dusty. Dust all sound faces gently, but apply the compatible fingerprint method only where needed. Three of eight is 37.5 percent. This calculation describes the observed workload, not a recommendation to wet-clean a fixed percentage of doors.
Notice whether hands regularly grip the edge because handles are small or awkwardly positioned. Hardware changes are a separate project, but the pattern helps explain why a mark returns. Keep cooking splashes and hand sanitizer from reaching the doors, and use the documented routine promptly after a fresh spill. Store special treatment instructions with the surface identity so another cleaner does not generalize them.
Finish with the intended matte appearance
Inspect the closed doors from normal room positions after drying. The original low sheen should remain without fresh glossy islands, cleaner bands or damp edges. Check behind pulls where residue can hide. Return the room to use only after the cleaning product's stated conditions are met.
Record any persistent mark as a separate finish or construction question. A clean matte surface may still show different light across its texture; the goal is removal of deposited soil with the designed appearance preserved. Once that boundary is reached, stop polishing and retain the method that produced a stable result.
THE REFERENCE FILE
Sources & scope
Documentation reviewed 1 Nov 2026. Examples are illustrative; this article does not claim hands-on product testing. Follow the instructions for your actual material, model and location.