A glass coffee table can look dirty because of a fingerprint on top, a smear underneath or residue around a support pad. Cleaning only the visible face may leave the apparent mark unchanged. Before reaching for a scraper, identify which surface carries the mark and whether the glass has a coating, decorative treatment or a damaged edge.
This guide concerns ordinary household glass tabletops with their maker's care instructions available. It does not cover moving or repairing large glass panels. Tempering, laminating and surface decoration describe different features, and none makes every cleaning tool safe. A sound transparent face also does not establish that the supports and fixings remain secure.
Inspect the table without lifting the glass
Remove objects by lifting rather than dragging them. Look around the accessible perimeter for chips, cracks and rough edges, keeping fingers clear of a damaged area. Check whether the top appears properly seated on its supports without pushing it sideways to test movement. Stop use and obtain advice if damage or unstable support is evident.
Do not lift a large panel alone to clean underneath. The weight, edge condition and mounting method may require specific handling. Photograph a questionable support or chip from a safe position. Cleaning should not turn into a disassembly experiment. If the top is bonded to a base or fitted with spacers, ask the manufacturer how those interfaces should be maintained before attempting to remove dirt from inside them.
Identify any treatment on the glass
Check the product record for paint, tint, etching, film, applied decoration or a special coating. The National Glass Association's decorative-glass guidance stresses component-specific instructions and warns against scrapers on decorative glass. Carl Hansen & Son's glass care guidance also excludes harsh or sharp cleaning approaches for the products it addresses.
Ethan Allen's furniture guide provides additional material-sensitive care context. Use the actual maker's instructions where the tabletop differs from these examples. A plain-looking face may still have a treatment that is not obvious from a photograph. Do not use a solvent patch or razor scrape to identify it. If the surface cannot be confirmed, remove loose dust gently and ask the supplier before tackling adhered marks.
Locate the smear using a dry comparison
Look down at the table, then view it from a shallow angle. If accessible without awkward handling, look at the underside from a seated position. Note whether the mark seems to align with a support pad or an object previously placed on the top. A reflection can make an underside fingerprint appear to be on the upper face.
Use a small controlled clean on the top to determine whether the appearance changes, following the approved method. Do not wet both sides simultaneously; that removes the comparison. Photograph the original outline and record the surface you treated. A mark remaining beneath the glass after the top is clean is a location clue, not evidence that the cleaner needs to become stronger.
Prepare grit-free tools and a manageable working area
Choose clean soft lint-free cloths permitted by the maker. Inspect hems and surfaces for trapped particles. Keep the washing cloth separate from the finishing cloth, and do not use one that carried metal polish, wood oil or bathroom cleaner earlier. Residue on a cloth can produce streaks even when the glass product itself is suitable.
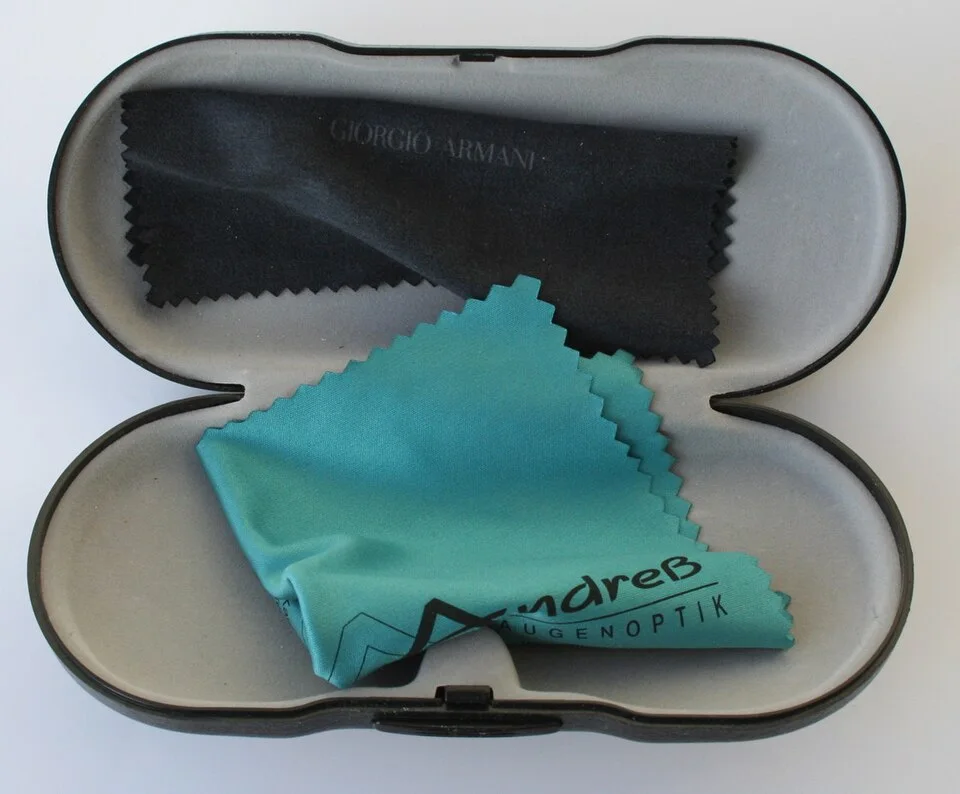
The exposed faces and cut edges offer concrete places to check for trapped grit and residues before touching glass. Choose your own clean, soft, lint-free cloths allowed by the tabletop maker and separate washing from finishing. These small lens cloths illustrate inspection points; they do not establish tabletop compatibility or a sufficient cloth size for the job.
Photo & usage
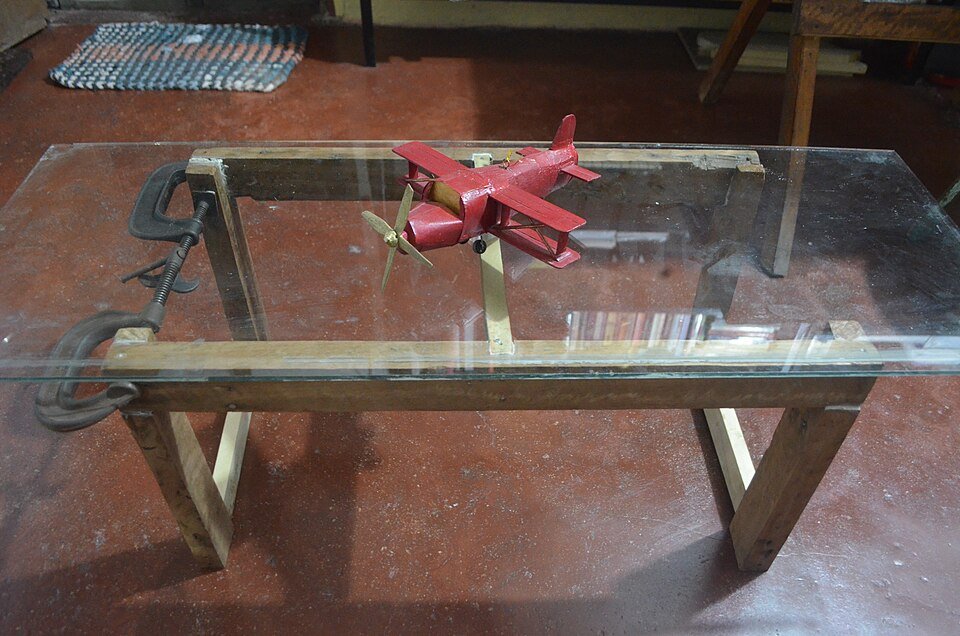
Gmhofmann · CC BY-SA 3.0 · Source. Display copies resized and encoded as WebP; no instructional details were fabricated or removed.
Move lamps and delicate objects to a stable place so the whole accessible face can be reached comfortably. Protect the base and floor from runoff in a way compatible with their finishes. Avoid resting a spray bottle or hard tool directly on the glass during cleaning. If the far side is difficult to reach, walk around the table rather than leaning body weight on the top.
Clean one face with the permitted method
Apply the maker-approved glass cleaner or water method as directed, controlling liquid near edges and supports. Use light overlapping passes and change cloth faces as soil lifts. For a dried food mark, allow only the permitted softening contact. Do not use a blade, abrasive pad or concentrated household acid as a default.
Remove product residue and dry with a separate clean cloth according to the instructions. Avoid chasing a wet streak across the whole top with an increasingly dirty cloth. Inspect after drying before repeating. If a small trial produces haze, altered reflection or a coating change, stop and ask the supplier. A treatment is not successful merely because the original fingerprint has disappeared beneath a new broad smear.
Compare illustrative mark locations
| Observation after the top-face clean | Possible explanation | Next step |
|---|---|---|
| Smear disappears fully | Upper-face residue was present | Finish with the same compatible method |
| Mark persists but underside fingerprint is visible | Soil may be on the lower face | Clean only if safe access is provided |
| Ring remains at a support pad | Contact material or trapped residue may be involved | Ask about the support assembly |
| Fine line stays visible in side light | Scratch or another physical change is possible | Do not scrape or polish speculatively |
These examples are invented comparisons rather than inspection results. Their purpose is to prevent a location problem from being misread as chemical resistance. The correct next step may be safe access or assembly advice, not a different cleaner. Preserve photographs before any authorized change to supports.
Give the underside its own safe access decision
If the maker provides easy underside access while the top remains securely supported, use the permitted method with controlled liquid and no body pressure against the glass. Protect the base and avoid dripping onto upholstery, wood or electrics. Keep hands away from chipped edges. Do not kneel beneath an unstable top.
Where the underside cannot be reached without lifting, postpone that area and arrange proper handling. Never remove a support pad merely because a ring seems to sit beneath it. The pad may locate or protect the glass and its replacement may need a specified material. Household adhesive, rubber or felt can introduce compatibility or stability questions. A clean table face does not justify altering the load-bearing arrangement.
Use dimensions for reach planning
An illustrative rectangular top measuring 110 by 55 centimeters has an area of 6,050 square centimeters, or 0.605 square meters. Cleaning from both long sides can reduce the required reach across its width to about 27.5 centimeters, half of 55, if the table's surroundings allow it. This is a workflow illustration, not a handling or structural specification.
The numbers do not establish how much weight the glass can carry or how many spray applications it needs. Check the furniture maker's actual loading and access instructions. Clear enough space around the table before starting so cleaning can be completed without leaning or dragging the piece. If the furniture is heavy, fragile or fixed, adapt the work or arrange help instead of forcing the illustrated arrangement.
End with the edges and supports unchanged
Inspect the dry face from normal seating positions and under the original revealing light. No fresh smears, lint or retained cleaner should remain. Check accessible edges and the surrounding base for moisture without disturbing supports. Return objects gently on finish-compatible protectors where the maker recommends them.
Record any persistent scratch, support ring or inaccessible underside area separately. Do not claim a cleaning product can restore damaged glass or remove every apparent cloud. Completion means the accessible deposited soil has been removed safely and the assembly remains stable. A mark requiring handling or repair belongs to the next specific decision, with the evidence preserved.
THE REFERENCE FILE
Sources & scope
Documentation reviewed 1 Nov 2026. Examples are illustrative; this article does not claim hands-on product testing. Follow the instructions for your actual material, model and location.