Make a record someone else can navigate
A camera roll containing hundreds of room pictures can still leave an important question unanswered. Which wall is shown, was the mark present at arrival and where is it described on the condition form? Build the photographic record around those questions. The aim is a traceable account of visible condition, rather than a claim that photographs alone determine responsibility.
Obtain the actual inspection form and identify its room and item headings. Use the same names in your photo index. New Zealand Tenancy Services provides a room-based report and recommends a jointly completed initial inspection with dated copies. Its legal processes apply in New Zealand; check the relevant local requirements for your own tenancy.
Take the baseline before belongings obscure surfaces where possible. If the home is already occupied, state that limitation and photograph accessible areas without moving unsafe objects or dismantling fittings. Record what could not be seen.
Give each room a stable orientation
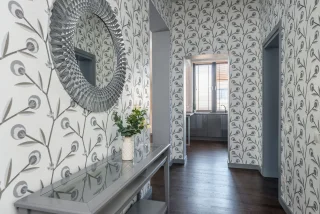
Sketch the room and label walls by a fixed feature or a simple letter sequence. Begin at the doorway and move consistently around the room. Include a wide view showing the relationship between doors, windows and major fittings before making detailed photographs.
Name images with the room, wall or item and sequence number. Preserve the original filenames or keep an index linking them to descriptive copies. A label such as “bedroom-window-lower-frame” remains understandable after household furniture and room assignments change.
Photograph comparable surfaces from ordinary standing positions. Do not climb onto furniture or lean outside to obtain an image. If an upper surface cannot be seen safely, note it as uninspected. A baseline should make its coverage clear; it should not imply a complete building inspection merely because every room has a folder.
Use context, detail and a scale reference
For a notable mark, take a context view that locates it and a closer view that shows its shape. Where size matters, place a ruler nearby without touching a delicate or unstable surface. Keep the scale in the same plane as the feature as far as practicable, and explain when an image is only approximate.
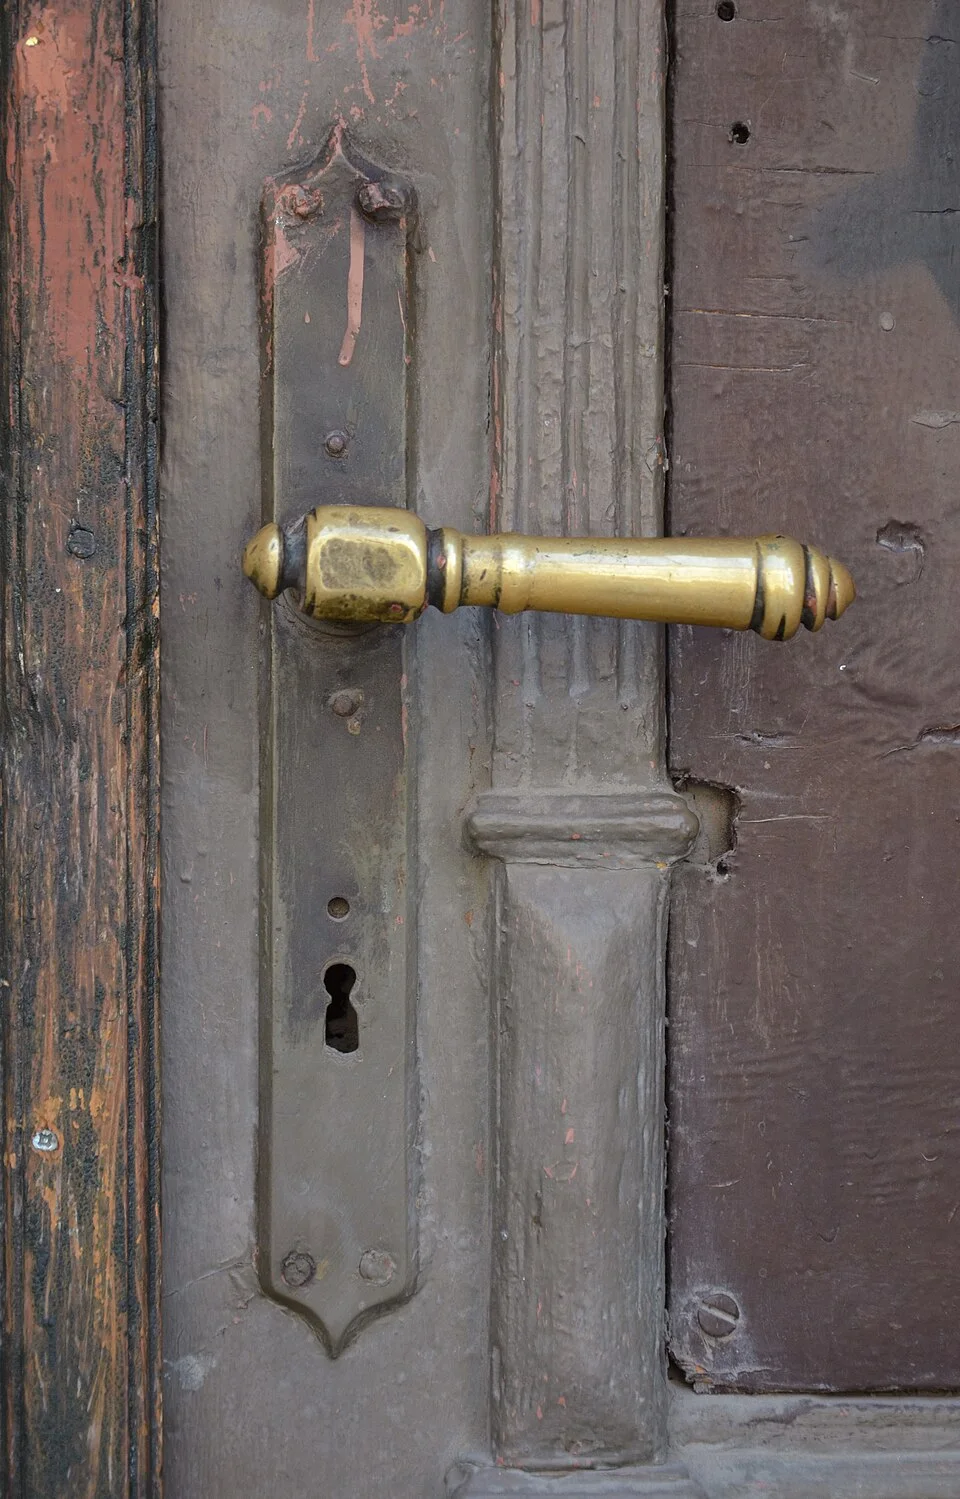
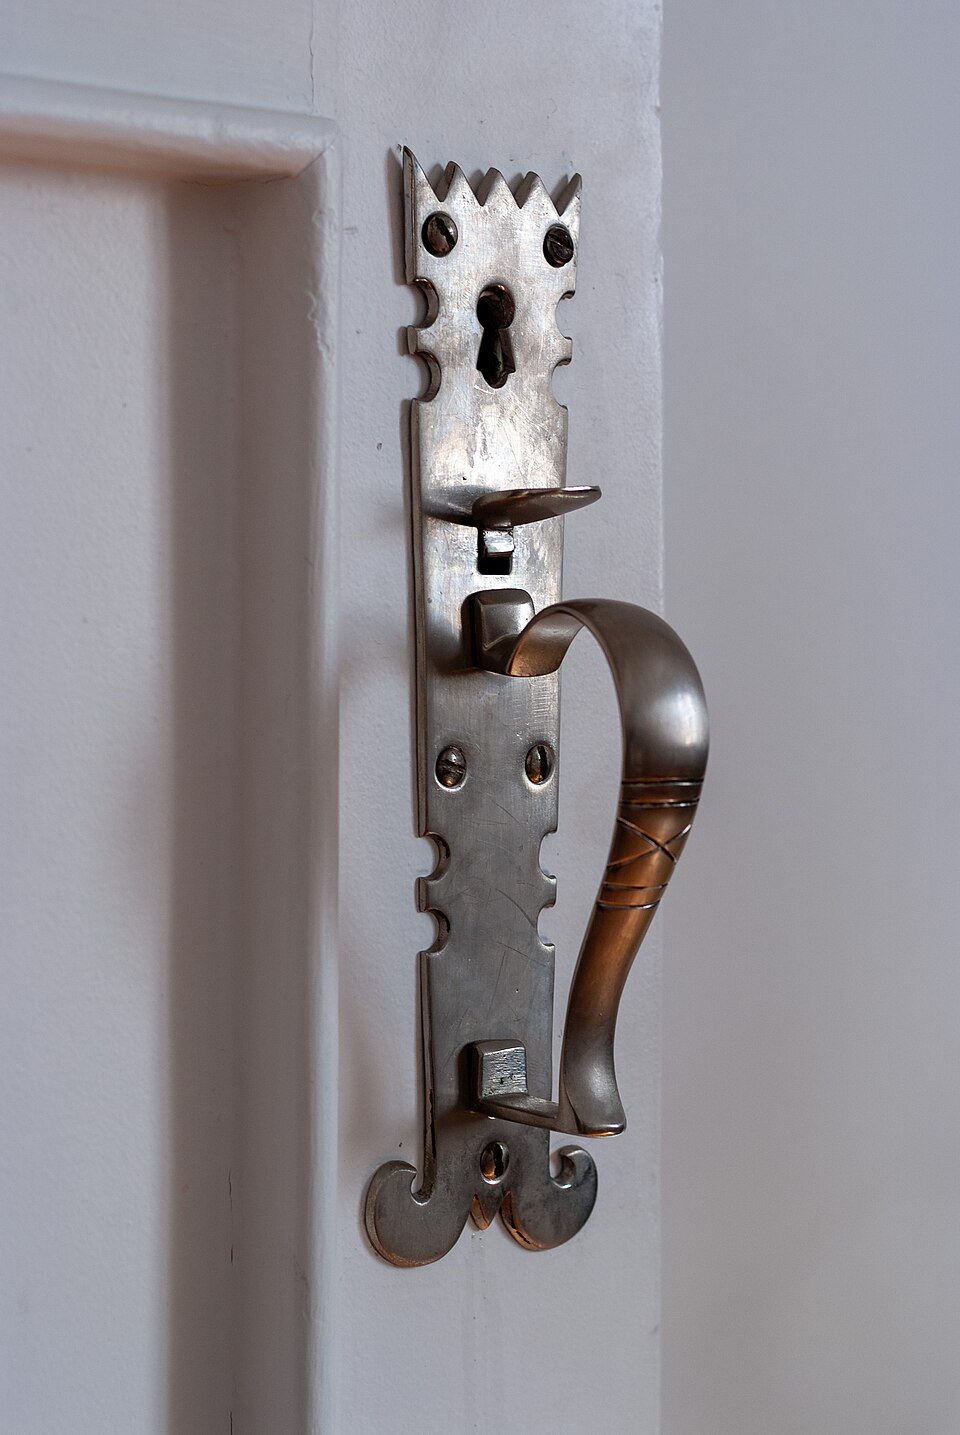
The close view records the handle, coating wear and surrounding door detail as visible condition. In your own rental record, pair a comparable detail with a wider photograph that locates it, and add a separate scale reference if size matters. This image provides no measurement, date of damage, material identification or evidence of responsibility.
Photo & usage
Aeou · CC BY-SA 3.0 · Source. Display copies resized and encoded as WebP; no instructional details were fabricated or removed.
Avoid extreme digital zoom that hides context. Check focus and glare before moving on, particularly on glossy doors, mirrors and dark flooring. Repeat a photograph if reflected light makes a mark disappear. Do not edit the mark's appearance to make it clearer; use an additional angle and a factual note.
Record uncertainty honestly. A dark patch might be staining, a shadow or an unresolved moisture concern. Write what is visible and report any concern through the appropriate channel. A photograph cannot establish the cause, material composition or hidden extent of a defect.
Build a small index that exposes missing coverage
This illustrative index assumes a room has four wall views, two floor views, two window views and one door view. The planned baseline therefore contains nine context images before any defect details are added.
| Group | Planned | Usable images |
|---|---|---|
| Walls | 4 | 4 |
| Floor | 2 | 2 |
| Window | 2 | 1 |
| Door | 1 | 1 |
Eight usable images leave one planned window view missing. Three extra close-ups of a floor scratch do not fill that gap. Revisit the window if safe and permitted, or mark the view unavailable. This count checks coverage only; nine pictures do not certify that the room is defect-free.
Write observations beside the image references
On the form or a clearly linked supplement, describe the item, location and visible condition. “Two small chips on the lower hinge-side edge of the bedroom door; images D03 and D04” is more useful than “door damaged.” Separate an observation made at inspection from a later discovery.
If the form uses an acceptable-condition tick, ask how exceptions should be recorded. Do not assume a general tick and a separate unshared photograph communicate the same thing. Identify the supplementary file in the written record so readers know it exists.
For an appliance or fixture, distinguish appearance from operation. A photograph of a clean oven door does not show that the oven heats correctly. Record an ordinary operating observation only if it was actually made, and do not perform unsafe tests or unfamiliar disassembly to fill an evidence gap.
Preserve originals and limit private content
Store original images in a dated folder and make a second secure copy. Check that the files open from the backup rather than assuming a successful upload. Retain metadata where available, while recognising that a filename or timestamp alone may not settle when an observation occurred.
Keep personal papers, faces, access codes and valuables out of the frame where they are irrelevant. Tenancy Services' inspection guidance discusses care with photographs of tenants' belongings. Use the minimum view necessary to document the property, especially when sharing the record beyond the household.
If you annotate an image, save the annotation as a separate copy and retain the unaltered original. Make the annotation identify the feature without obscuring it. A red circle can assist navigation, but it should not become the only version available when someone later needs to inspect the actual surface detail.
Check whether the baseline can be reused
Ask another household member to find one named feature using only the index. If they cannot identify the room or match the detail to a context view, improve the reference before the baseline is archived. Test the backup copy in the same way.
Keep a short list of inaccessible areas, uncertain observations and repairs awaiting a response. These limitations belong with the record so a later reader does not mistake missing photographs for evidence of good condition.
The baseline is ready when each notable observation links to a recognisable location, the original files are preserved and the shared written record points to the evidence. At departure, the same structure will support a fair comparison without pretending that photographs replace the tenancy's formal processes.
Document a feature that changes with light
If a mark appears only at an oblique angle, take both the ordinary room view and the angle that reveals it. State why the second image was taken. Keep the lighting description factual, such as daylight from the window or the room lamp switched on. Do not imply that one dramatic angle represents every viewing condition.
For glossy surfaces, move the camera rather than applying a treatment to reveal a defect. A photograph taken after polishing, wetting or rubbing may no longer represent the baseline condition. If ordinary cleaning has already occurred, record that sequence. The strongest practical record explains how an observation was obtained without changing the surface to make the evidence more persuasive.
THE REFERENCE FILE
Sources & scope
Documentation reviewed 1 Nov 2026. Examples are illustrative; this article does not claim hands-on product testing. Follow the instructions for your actual material, model and location.