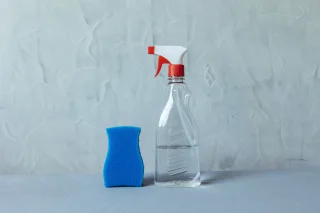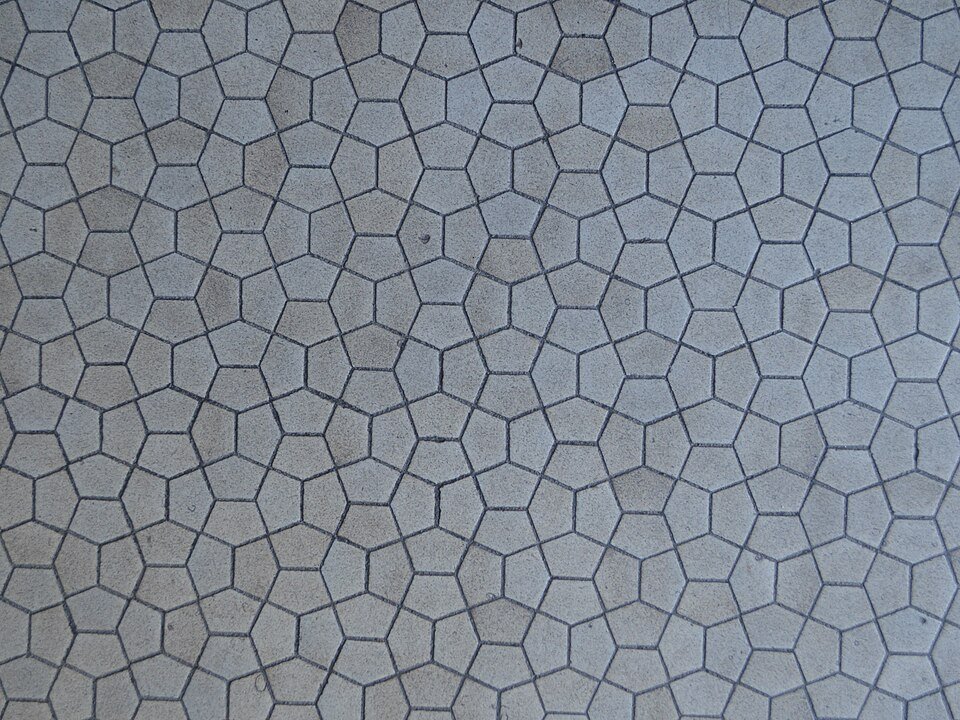
A dark grout line is easy to treat as a whitening project. Yet cement grout can be dirty, naturally uneven in color, damp, coated with residue or physically deteriorating. A stiff brush may make a line look lighter by removing material rather than cleaning it. Begin by checking the joint's integrity and the grout type, then judge the result after drying.
This guide focuses on sound cement-based grout in a tiled wall or backsplash. It does not cover replacing grout, restoring waterproofing or diagnosing mold. If the installation contains natural stone, glass, metallic decoration or a topical coating, those materials also limit the cleaner. The tile face alone cannot grant permission for the whole assembly.
Verify that the grout is cement-based
Look for the bag, invoice or installer record. Ready-to-use and epoxy grouts are different families and may not require the same care or sealer. MAPEI's FAQs distinguish these products and advise selecting a cleaner for the actual grout. A sandy appearance or a familiar color is insufficient identification.
Find any sealer information as well. Some cement grouts have different sealing requirements from others, and an old topical color treatment can introduce another layer. Do not perform a scratch test in a visible joint to prove composition. If the product remains unknown, remove loose surface debris gently while asking the installer. A bottle advertised as grout cleaner still needs a compatible-material statement and clear instructions for the installed surface.
Inspect for damage before cleaning for color
Look along the dry joints in good light. Record cracks, pinholes, missing segments, soft areas and separation at corners. A change-of-plane sealant joint is not necessarily grout and should not be attacked with the same brush. Photograph damaged details without probing them with a knife.
If loose grains shed under light contact, stop wet scrubbing there. Persistent dampness, recurrent powder or staining beside a leak needs assessment of its cause. MAPEI's guidance notes that tile and grout are not themselves waterproof; cleaner and sealer cannot substitute for a sound installation. Keep the scope clear: stable joints with ordinary soil can receive a controlled clean, while movement, missing material and unexplained moisture require separate attention.
Record the dry starting color
Photograph a representative dirty section and a sheltered sound section under similar light. Do not assume the sheltered area shows the grout's original color; it may have aged or been cleaned differently. Use it as a comparison, with that limitation written down. Note whether the darkening follows cooking splashes, hand contact or a repeatedly wet edge.
A joint often changes appearance when damp. That is why an immediate wet photograph is a poor completion check. Also note any white deposit on the face: it may be residue or efflorescence rather than grease. MAPEI discusses efflorescence separately in its FAQs. Do not classify every white line as a need for stronger bleaching, especially when a powder returns after ordinary cleaning.
Trial a neutral compatible method
Remove loose debris with a soft clean tool. Prepare the grout- and tile-approved neutral cleaner exactly as labelled, including any restrictions imposed by sealer. Daltile's tile guidance includes compatibility with grout and emphasizes removing cleaning residue. Choose a small inconspicuous sound area and carry out all required steps.
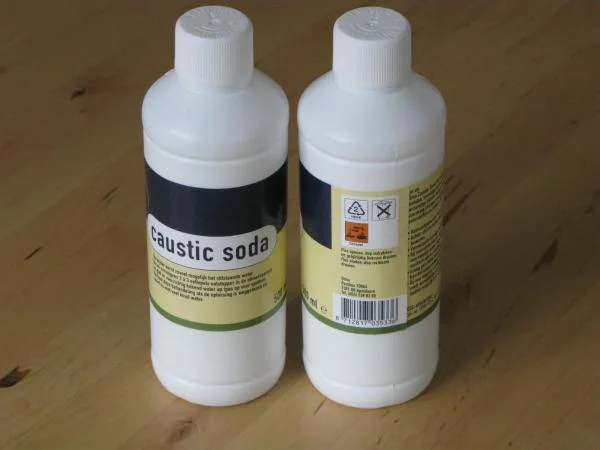
The front names caustic soda and the rear carries hazard labelling, making product identification and warnings visible. This is a warning-panel reference, not a grout-cleaner recommendation. For the trial, use only the specified compatible neutral cleaner and check its exclusions against the actual tile, cement grout and any sealer before preparing or applying it.
Photo & usage
Skatebiker at English Wikipedia · Public domain · Source. Display copies resized and encoded as WebP; no instructional details were fabricated or removed.
Use the permitted soft brush or cloth with modest pressure. Let the label's dwell time, if any, guide contact rather than grinding the joint. Collect dirty solution and rinse as directed with clean water. Allow complete drying, then compare color, firmness and the adjacent tile sheen. A lighter line with newly missing grains is a failed trial, even if it looks brighter in a photograph.
Work along joints without excavating them
Keep each working area small enough that the solution can be removed before it dries contrary to the label. Use fresh brush contact and cloth faces so loosened soil does not migrate to the next joint. Avoid a wire brush, abrasive drill attachment or sharp pick. High tool speed is not evidence of compatibility.
Clean the tile faces and remove runoff as part of the same job. Dirty water collected at the bottom of a wall can stain a lower line that was initially sound. Keep liquid away from open cracks and adjacent wood or laminate. If progress stops after the approved routine, record it. Do not escalate pressure until the grout begins to wear; a retained color difference can belong to the material rather than a removable surface deposit.
Interpret an illustrative comparison
| Observed result | What it may mean | Decision boundary |
|---|---|---|
| Joint lighter, firm and unchanged in profile | Removable soil was present | Continue the same compatible routine |
| Color remains uneven but no soil transfers | Residual staining or original variation is possible | Ask about specific treatment or accept variation |
| Grains continue shedding | Joint deterioration may be present | Stop scrubbing and request repair assessment |
| White powder returns after drying | Residue or salt movement may be involved | Investigate cause before another product |
The observations are invented examples. They do not identify a salt or prove hidden water damage. Their purpose is to separate a cleaning success from a condition that requires another question. Keep photographs of the joint profile as well as its color, because loss of material can be missed in a distant bright-after image.
Handle stubborn marks without a chemical guess
Acidic cleaners can affect cementitious materials and nearby acid-sensitive stone. Do not treat vinegar as a neutral default. Chlorine products, specialist alkaline cleaners and stain removers also need explicit compatibility and application instructions. A permission for a particular stain on ceramic does not automatically extend to colored grout or its sealer.
If the grout supplier recommends a specialized treatment, obtain the full sequence, including rinsing, protection of adjacent surfaces and drying. Use only one product at a time and follow instructions before any separate next stage. Do not mix household agents or assume a stronger smell means stronger cleaning. A localized stain may remain after safe options are exhausted; that is preferable to leaving a weakened joint whose color happens to be more uniform.
Count the job before starting it
For an illustrative backsplash with five horizontal grout runs each 1.2 meters long, the horizontal total is 6 meters. If there are also eight vertical runs each 0.4 meters long, they add 3.2 meters, for 9.2 meters overall. This simplified count excludes details and intersections; it is a workload estimate, not a chemical coverage rate.
The example helps explain why completing a tiny trial first is efficient. It avoids committing every joint to a method that changes pigment or texture. Break the actual installation into manageable sections and record where cleaning stopped. Keep damaged lines outside the wet route so another person does not unknowingly resume at an unstable area.
Decide on sealing or cosmetic renewal later
Only after the grout is clean, stable and fully dry should sealing or color renewal be considered under the relevant product instructions. A sealer does not rebuild missing grout or correct recurring moisture. Do not cover a crack merely to make the line appear continuous. Ask the installer whether a corner needs a movement joint rather than more rigid grout.
Routine cleaning is complete when removable soil and cleaner residue are gone, the joints remain sound and the dry result is understood. Keep the grout name, sealer record and successful method together. Where discoloration persists, choose a supplier-approved stain treatment, a cosmetic renewal assessment or acceptance of stable variation. Endless whitening attempts are not a necessary part of a clean tiled wall.
THE REFERENCE FILE
Sources & scope
Documentation reviewed 1 Nov 2026. Examples are illustrative; this article does not claim hands-on product testing. Follow the instructions for your actual material, model and location.