A veneered desk may look like solid timber across its broad top, yet its thin decorative wood and bonded edges change the cleaning decision. The safest routine does not begin by scrubbing a mark. It begins by checking whether the veneer remains attached and identifying the coating that sits above it. Moisture entering a lifting edge can create a repair problem larger than the original spill.
Veneer itself is not a finish. It can carry lacquer, oil, paint or another treatment, and its supporting board may respond differently to water. Use this guide to prepare a controlled household clean of sound furniture, while keeping lifting, blistered or uncertain areas outside the liquid-cleaning job.
Inspect the edges before the broad face
Lift objects away and look along the desk edge in side light. Examine corners, cable cutouts, seams and the area around a keyboard tray. Note rough exposed board, a fine shadow below the veneer or a raised bubble. Do not press a bubble flat to see whether it sticks, and do not insert a blade into a gap to measure it.
A cloth that catches at an edge is useful evidence that the cleaning route needs to change. Stop dragging the cloth over that spot. Photograph the location beside a ruler held nearby without touching the damaged material. A fresh chip may reveal construction, but deliberately breaking or scraping a corner to identify it sacrifices the surface you are trying to preserve.
Identify the coating and its care route
Find the desk model and the supplier's finish description. Carl Hansen & Son publishes a separate veneer-tabletop guide, illustrating why construction deserves its own care instructions. Use the relevant maker's document for the actual desk, particularly where a refinisher has altered its surface. A familiar wood pattern does not establish finish compatibility.
Ask whether any wax, silicone polish or maintenance oil has been added. Record these separately from the original coating. If instructions are missing, AICCM's conservative advice about furniture components supports starting with gentle dry dust removal on sound areas. History Nebraska's condition-first approach supplies another boundary: unstable surfaces should be assessed before further cleaning. Neither document makes a solvent test an appropriate identification shortcut.
Remove loose dirt without levering the surface
Use a clean soft cloth for the top, checking it for trapped grit before each pass. Move toward sound edges rather than repeatedly across a lifting lip. Around a cutout, lift particles with a soft brush only where the edge is firmly attached. Avoid a hard vacuum nozzle rubbing against thin edge banding.
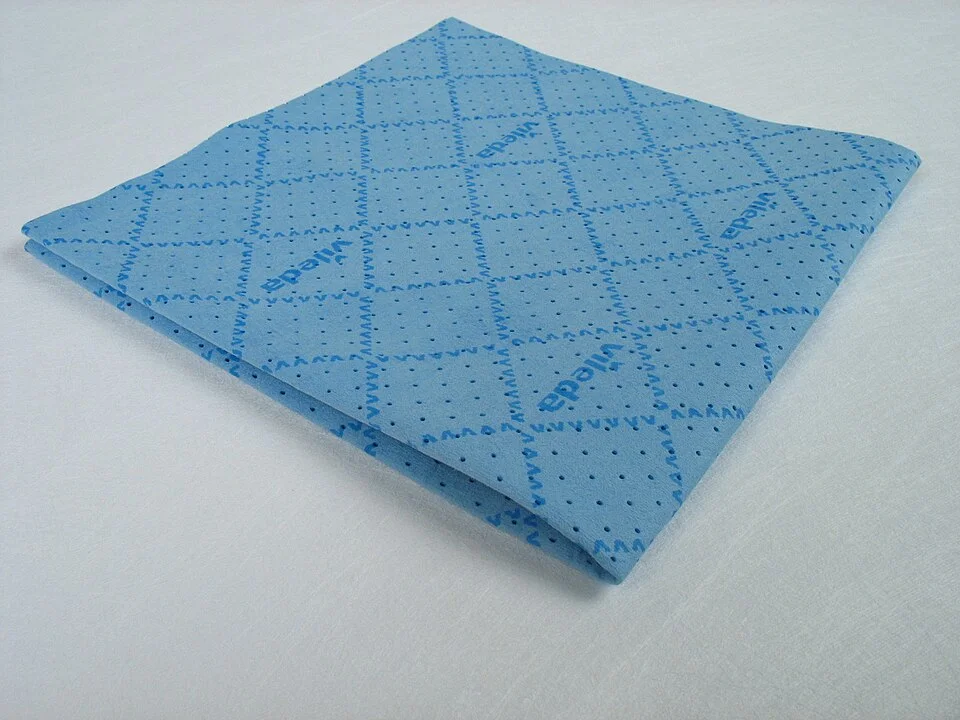
The folded cloth exposes both a broad face and a free edge, the areas to check for grit or material that could snag. Use a clean soft cloth permitted for the furniture, then dust toward firmly attached edges. Leave a lifting veneer lip untouched; the pictured cloth does not establish compatibility with a particular lacquer, coating or damaged corner.
Photo & usage
Polyesterchen · Public domain · Source. Display copies resized and encoded as WebP; no instructional details were fabricated or removed.
At a damaged corner, leave adhered debris for a repairer if moving it would pull the veneer. An intact top can be dusted while that small area remains untouched. Keep the practical boundary visible in your notes, especially if another person will finish the room. The goal is not to prove that every square inch can receive the same tool.
Keep permitted damp cleaning away from open seams
Where the actual coating instructions allow a damp cloth, prepare it away from the furniture and wring it thoroughly. Clean a small representative intact area first. Use the named product and method, then complete any directed dry wipe. Wait for a fully dry result before treating the broad face.
Never pour cleaner onto the top or leave a wet cloth sitting over a ring. Protect exposed cutouts from overspray when cleaning adjacent glass. Around sound edges, use controlled cloth contact rather than allowing liquid to collect. Where an edge is open, postpone liquid cleaning there. Adhesive failure, swelling and a stain beneath the coating are repair questions; increasing water contact does not resolve their causes.
Read a mark without sanding through it
A gray smear that transfers to the cloth may be removable soil. A pale scratch with a sharp boundary may be damage in the coating, while a dark seam may involve moisture or accumulated residue. These are possibilities to report, not diagnoses established by a household wipe. Compare the dry appearance with the original photograph.
Do not borrow a sanding instruction from a solid-wood table guide. Thin veneer provides little margin for removing material, and the remaining thickness is rarely known. Abrasive erasers can also change the sheen of an intact coating before a stain disappears. If a mark survives the approved routine, stop and ask whether finish repair or rebonding is appropriate. A smooth-looking wet patch is not evidence that sanding will be safe.
Map an illustrative desk example
Consider an illustrative desktop measuring 120 by 60 centimeters. Its face area is 7,200 square centimeters, or 0.72 square meters. A damaged edge strip 120 centimeters long and 2 centimeters wide covers 240 square centimeters, or 0.024 square meters. These calculations describe observation areas, not cleaner coverage or a permitted wet zone.
The damaged strip represents 240 divided by 7,200, approximately 3.3 percent of the face area. Its small size does not make flooding it acceptable. Instead, dust the stable majority and keep the repair boundary dry. Tell the repairer that the entire front edge is affected, rather than saying only three percent of the table is damaged. Geometry helps locate a problem; it does not measure its structural importance.
Avoid quick fixes at a loose corner
Household glue pushed under an edge can stain adjacent wood, introduce an incompatible adhesive and make later clamping difficult. Tape can pull away a weak coating when removed. Weighted books over a damp bubble can imprint the finish or spread moisture. Do not turn a cleaning session into an improvised bonding repair.
If a fragment detaches, keep it in a labelled envelope or container and photograph its original position. Avoid attaching labels directly to the furniture. Ask the repairer how to protect the exposed area until assessment. For everyday use, relocate cups and damp equipment away from the damage and choose a stable alternative work area if ordinary hand contact keeps catching the edge.
Check chair-side contact and cable cutouts
On a working desk, the front veneer edge receives repeated forearm contact while a cable opening may remain hidden beneath equipment. Inspect both when the surface is clear. A rough front lip can snag sleeves even if the broad top is clean; a dark cable cutout can conceal an unprotected board edge. Keep drinks and wet cleaning tools away from those details until their condition is resolved.
Do not line an open cutout with adhesive tape as a temporary waterproofing claim. Tape can affect the finish and hide changes the repairer needs to see. Instead, record the exposed location and adjust ordinary use so liquid is not placed nearby. If a desk mat is permitted, lift it for inspections and confirm its underside is compatible and dry; covering an edge is not the same as repairing it.
Check completion in the furniture's normal setting
Inspect from seated height as well as standing above the top. No fresh haze, color transfer or edge lifting should have appeared. Joints and cable cutouts should be dry, and a clean cloth should move freely over sound areas. Return objects by lifting them, using supports compatible with the finish rather than adhesive fixes.
Write the successful method beside the product code and mark the excluded repair areas. If the damaged line changes, photograph it under similar lighting and stop liquid care nearby. A complete cleaning job can include a clearly documented untreated edge. What matters is that the removable soil is gone from stable surfaces and the remaining problem has an appropriate next step, rather than another stronger bottle.
THE REFERENCE FILE
Sources & scope
Documentation reviewed 1 Nov 2026. Examples are illustrative; this article does not claim hands-on product testing. Follow the instructions for your actual material, model and location.