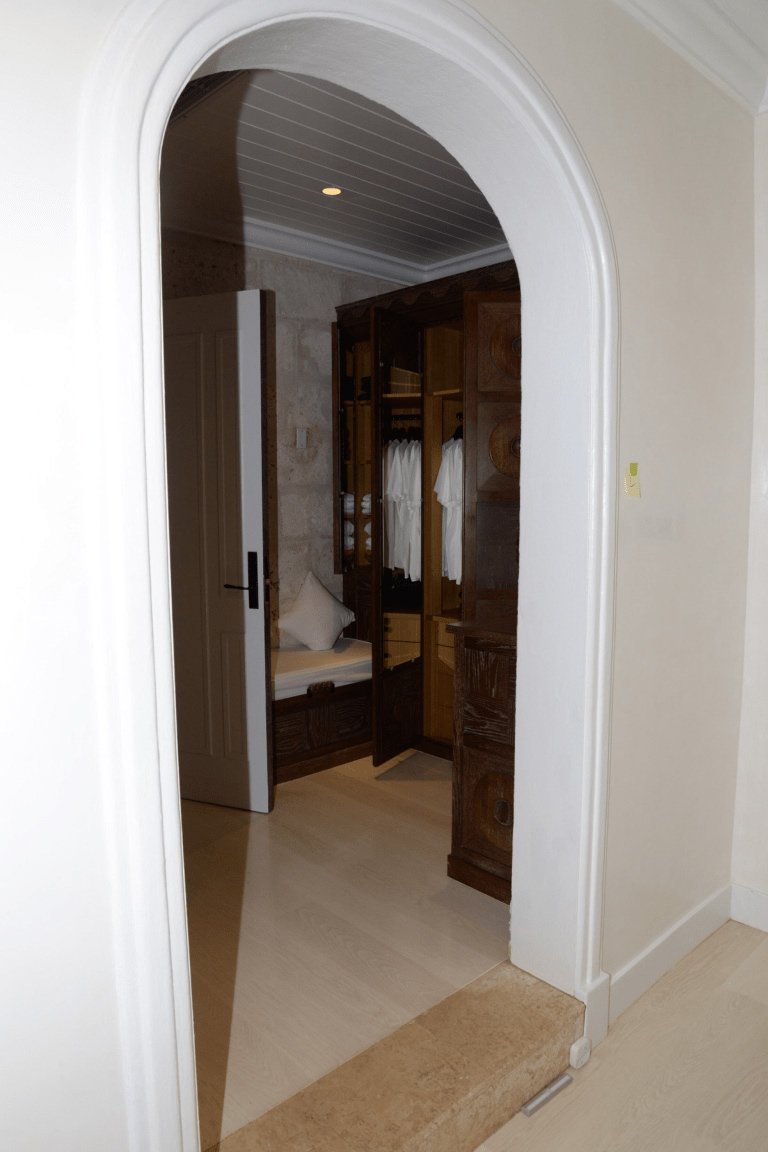
A rack advertised by width can hold very different wardrobes. Thin shirts, padded coats and long dresses consume different amounts of rail and floor space. Counting empty hangers gives an optimistic number because it ignores the garments, the hand entering between them and the load the rack is intended to carry.
Measure a representative group of your actual clothes in ordinary storage condition. Use those observations to compare a suitable existing rail with candidate products. The aim is a wardrobe that can be selected and returned easily, not the largest number of hangers that can be squeezed together.
Separate the wardrobe into useful garment groups
Count the current hanging clothes by how they behave: slim shirts, bulky outerwear, long garments and anything requiring special support. Keep off-season items separate. Do not assume every item has to remain on the daily rail merely because it currently hangs in the wardrobe.
Use garments clean and dry enough for their intended storage, following care labels. The Canadian Conservation Institute — Basic Care: Textiles guide discusses how support and storage conditions matter for textiles. Fragile or valued pieces may need care beyond ordinary garment-rack planning; do not compress or hang them simply to make a numerical capacity work.
Choose a small representative group from each category. Include thicker examples rather than selecting only the narrowest shirts. Record the hanger type too, since broad padded hangers and thin hangers produce different spacing. Changing every hanger may alter capacity, but it should not compromise the support appropriate for the garments.
Measure a row at comfortable selection spacing
Hang a manageable sample on an existing suitable rail. Space it so you can identify an item, place your hand between garments and remove a hanger without dragging its neighbors. Measure the occupied rail length and divide by the number of garments to create a category-specific planning average.
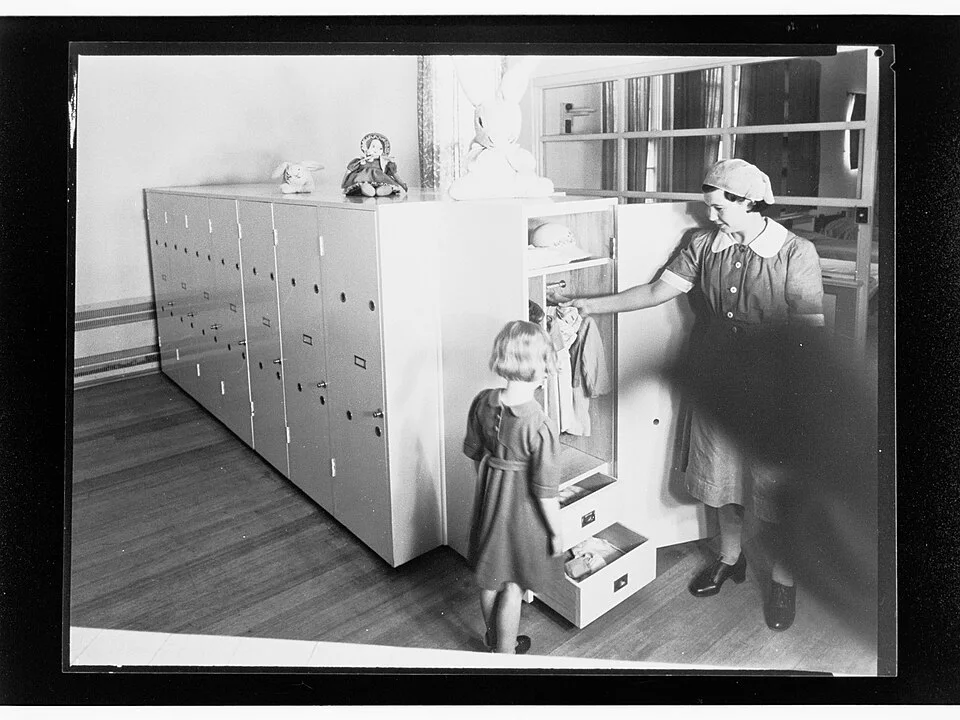
This historical photograph shows access to a small hanging collection, rather than a measured rail allowance. On your own suitable rail, hang a representative group with room to identify and remove each item without lifting neighboring hangers. Measure that occupied length and repeat for bulky categories. The image supplies no spacing figure or load permission for another wardrobe.
Photo & usage
State Government Photographer · CC0 · Source. Display copies resized and encoded as WebP; no instructional details were fabricated or removed.
Repeat with another sample if thickness varies substantially. Keep the observed range instead of pretending a single average covers all clothes. A coat group that changes seasonally may need a separate allowance from shirts. Label all figures as your own measurements or estimates in the record.
Do not multiply the most tightly compressed spacing by the full rail length. That predicts storage under pressure, not routine retrieval. If garments spring sideways when one is removed or neighboring hangers lift together, increase spacing or reduce the category count. The usable row is the one that supports selection and return without wrestling.
Include rack depth and garment projection
Measure hanger width across the shoulders and the depth of the hanging clothes as they naturally rest. The rack's feet may project less or more than the garments. Use the farthest ordinary edge when drawing the occupied footprint, and include any permitted side hooks holding bags or long items.
The IKEA — MULIG Clothes Rack, Article 601.794.34 page supplies dimensions and a load rating for one particular rack. The IKEA — RIGGA Clothes Rack, Article 502.316.30 page describes a different model with its own dimensions and adjustments. These examples show why a product name or visual similarity cannot substitute for the exact specifications of the item you plan to use.
Check the route beside the rack with garments present. Sleeves and coat hems can intrude farther than the bare frame, particularly near a doorway. Positioning the frame neatly against a wall does not guarantee that clothing remains clear of controls, heating equipment or the room's necessary circulation. Measure the loaded outline before approving the location.
Build an illustrative rail-length budget
All figures here are illustrative. Suppose the usable hanging length is 90 cm. Twelve shirts require an observed planning allowance of 3 cm each, or 36 cm. Six jackets require 6 cm each, also 36 cm. The combined allocation is 72 cm, leaving 18 cm for comfortable variation and retrieval.
Adding four more jackets would require another 24 cm. The total would become 96 cm, exceeding the usable length by 6 cm before preserving any free allowance. The correct response is to reduce the daily group, provide another suitable destination or choose a different rack that also fits the room and load conditions.
Do not treat the length budget as a weight calculation. Eighteen garments could be light shirts or heavy coats. Check the total intended load separately, including hangers and any items on permitted lower storage. If the exact rack's limit or configuration is unclear, clarify it before use rather than assuming an apparently short row is safe.
Reserve height for hems and any lower storage
Measure from the underside of the rail to the lowest garment hem, using the intended hanger. Compare that drop with the rack's usable height above its lower structure or storage surface. A long coat that touches shoes or boxes needs a different arrangement even if its hanger fits the rail.
For adjustable products, use only the intended locked positions and read the exact instructions. Raising the rail changes the overall furniture envelope and may alter how easily the user can hang clothes. Do not choose the highest setting solely to gain a shelf below if it makes daily access awkward.
Leave the lower area unassigned until garment drop has been checked. A row of attractive boxes can consume the clearance needed for long clothes. If only part of the rail needs full height, separate the garment groups deliberately and confirm that bags on side hooks do not interfere with the long category.
Test daily selection before finalizing the count
Retrieve a garment from the middle of each group and return it. Notice whether other clothes must be pushed aside, whether hangers catch and whether the rack moves unexpectedly. Use the product's intended movement and parking features; do not rely on a rack as a handhold.
Check the user's normal approach. A rail behind another piece of furniture may technically fit but force sideways reaching. Frequently used garments should not require moving a chair or storage box first. If that movement becomes part of every selection, reduce nearby furniture or relocate the daily clothing group.
Inspect the row after several ordinary mornings. Clothes repeatedly left on a chair can indicate that returning a hanger is too awkward, not merely a lack of discipline. Correct the spacing, height or category assignment. Avoid adding a second small rack without also measuring its occupied route and retrieval space.
Check return spacing after a selection
Remove a garment from the middle of the row, then return it while the neighboring clothes remain in their ordinary positions. A group may look comfortably spaced after careful arrangement but become compressed during everyday selection. Notice whether the returning hanger catches another or pushes a sleeve into the route.
Use that return movement to set the practical category limit. Keep the measured allowance connected to the garment and hanger combination, since changing either can alter thickness and support. Do not describe the accepted count as a permanent rating for the rail. It is a household use allocation that must still remain within the exact product’s load and configuration requirements.
Keep a capacity record that can change with the season
Record the accepted garment groups, measured spacing range, usable rail length and exact product load conditions. Note which categories live elsewhere and when they return. This makes the winter-coat change a planned revision rather than a gradual overload of the summer arrangement.
Check that the rack is assembled and used according to its maker's documents, including any securing requirements. This guide gives no structural installation method. If the intended setup cannot be provided, select a different suitable storage solution rather than removing parts or improvising restraints.
Completion means every daily garment can be selected, supported and returned while the room remains usable. Revisit the plan when hanger types or clothing thickness changes. The relevant capacity is a comfortable working wardrobe within known product conditions, not a promotional number of empty hangers.
THE REFERENCE FILE
Sources & scope
Documentation reviewed 1 Nov 2026. Examples are illustrative; this article does not claim hands-on product testing. Follow the instructions for your actual material, model and location.