Start with the decision at the paint counter
A paint estimate should answer two questions: how much coating the room needs, and which unopened tins will supply it. Those are different calculations. A room may need 6.8 litres of wall paint, but the available pack sizes may leave you choosing between several smaller tins and a larger combination.
Build a small paint ledger before shopping. Give every colour, finish and product its own line. Ceiling white, wall white and white trim paint cannot share a quantity just because their colour names sound alike. Record the surface area, coats, coverage rate, allowance and proposed tins beside each line.
You need a tape measure, a room sketch, a calculator and the instructions for the exact products under consideration. Take measurements from a secure standing position; leave inaccessible high areas for someone with suitable access equipment. Decide which surfaces are included before calculating. Painting the walls does not automatically include doors, window frames, the ceiling or the wall behind fitted storage.
Resolve the unknowns that change the order
Walk around the room without scraping, sanding or lifting paint. Note bare plaster, repaired patches, textured areas, peeling coatings, staining and damp-looking sections. The goal is to identify questions for the paint supplier, rather than diagnose the substrate through destructive tests.
Pause a routine repaint if there is active dampness, widespread peeling or unexplained recurring staining. Arrange assessment of the cause before choosing a coating system. Otherwise, an apparently precise quantity can be a precise order for the wrong job. Ask the manufacturer which primer and finish suit the known substrate and existing coating; keep uncertain areas marked as pending.
Older paint needs a separate decision. In the United States, EPA recommends certified lead inspection or risk assessment for relevant surfaces in pre-1978 homes and recommends lead-safe certified contractors for renovation work in those homes. If the building age is unknown, do not start exploratory sanding. Read EPA’s homeowner guidance and obtain qualified advice. Outside the US, seek local guidance rather than treating 1978 as a universal cutoff.
Once the surface specification is settled, list primer separately. If only patches require it, record their combined area; if the specified system requires full priming, use the whole relevant surface. Do not assume a product described as paint and primer removes every substrate-specific priming requirement.
Measure the boundaries of each finish
Measure each wall’s paintable width and height, then multiply them. Add those rectangles for the gross wall area. For a simple room with equal wall heights, perimeter multiplied by height gives the same result. Split alcoves and chimney breasts into faces; include their returns when they will receive paint.
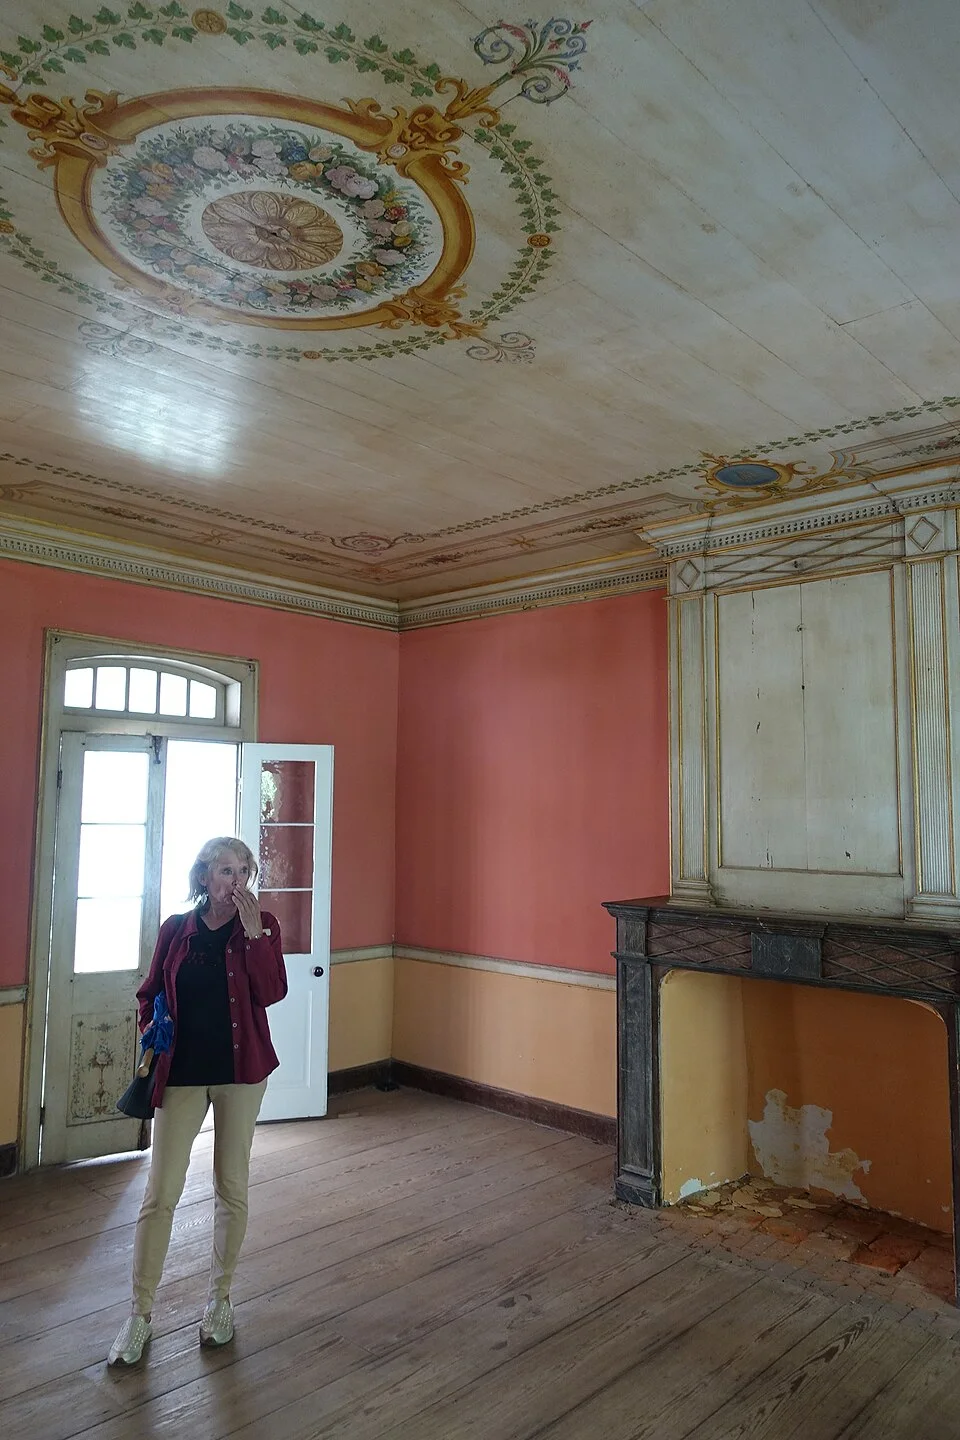
The room visibly separates wall faces, ceiling, opening trim and fireplace surround. Give those surfaces separate entries on your own sketch before measuring each included face; subtract the measured openings and add painted returns separately. This historic interior is a geometry reference, not a recommendation to repaint its decoration or treat visible defects.
Photo & usage
Jeremy Thompson · CC BY 2.0 · Source. Display copies resized and encoded as WebP; no instructional details were fabricated or removed.
Subtract measured door and window openings that will not receive that wall paint. Add back painted window recesses as separate rectangles. Leave small interruptions, such as sockets, in the total rather than chasing tiny deductions. Keep that convention consistent; it is not a substitute for a stated allowance.
Measure the ceiling separately using its own geometry. For sloping ceilings, the sloping surface length matters, rather than just the floor footprint. For trim, measure the exposed paintable faces, including door edges or frames only when included in the job. Never use a door opening deduction as the area of every face of its trim.
Put one unit system at the top of the sheet. Multiplying metres gives square metres; multiplying feet gives square feet. If a label uses US gallons, use US gallons throughout that calculation. A US gallon is about 3.785 litres; an imperial gallon is about 4.546 litres. They are not interchangeable shopping units.
Make coverage and coats visible
Use this equation for each ledger line: net area × number of coats ÷ coverage per coat = base volume. With square metres and square metres per litre, the answer is litres. With square feet and square feet per US gallon, it is US gallons. Confirm whether the manufacturer’s coverage figure describes one coat before multiplying.
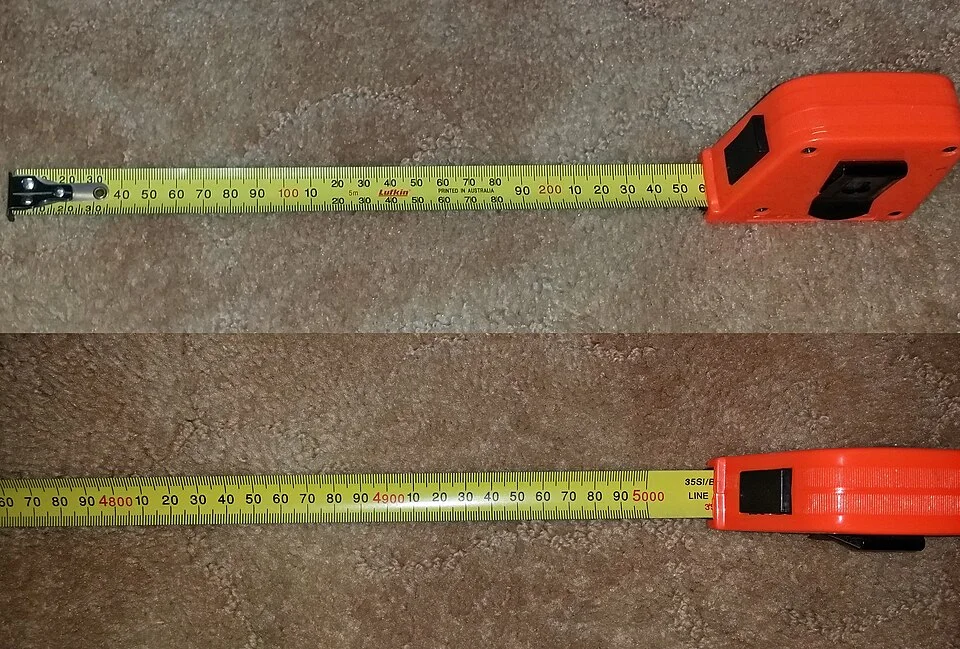
The tape shows a metric scale with marked millimetre intervals. Record width and height for the same paintable face in one unit, converting consistently before multiplying to obtain area. This is a scale reference rather than a room measurement; coating volume still needs the chosen product’s coverage per coat and specified coat count.
Photo & usage
Fredquint · CC BY-SA 4.0 · Source. Display copies resized and encoded as WebP; no instructional details were fabricated or removed.
Choose the coat count from the specified system and colour change, rather than lowering it to fit a convenient tin. Ask about a contrasting underlying colour or a difficult shade before buying. A hypothetical third wall coat increases the wall-finish requirement by 50% over two coats; a small handling allowance cannot cover that change.
Sherwin-Williams’ calculator guidance identifies surface condition and application method as factors affecting quantities. Treat a calculator as arithmetic assistance: it cannot settle an unknown substrate or guarantee the label’s coverage on your wall.
Primer needs its own coverage figure. For example, Benjamin Moore’s Multi-Purpose Primer document lists theoretical coverage at a recommended film thickness. That is a product-specific figure, not a universal primer rate. Copy the current instructions for your selected product into the ledger, including its recoat conditions.
Audit one hypothetical room before rounding
The following example is hypothetical throughout, including coverage rates, allowance and pack sizes. Imagine a rectangular room 4 m by 3 m, with walls 2.4 m high, approximately 13.1 ft by 9.8 ft by 7.9 ft. All walls receive one colour; the flat ceiling receives another product. Trim is excluded.
| Entry | Calculation | Result |
|---|---|---|
| Gross walls | 2 × (4 m + 3 m) × 2.4 m | 33.6 m² |
| Unpainted openings | Door 0.9 m × 2 m; window 1.5 m × 1.2 m | 3.6 m² |
| Net walls | 33.6 m² − 3.6 m² | 30 m², about 323 ft² |
| Wall finish | 30 m² × 2 coats ÷ 10 m²/litre | 6 litres |
| Ceiling finish | 12 m² × 2 coats ÷ 10 m²/litre | 2.4 litres |
Assume no painted window recesses in this example. Add a clearly labelled 10% planning allowance for handling losses and a modest reserve: walls become 6.6 litres, ceiling 2.64 litres. This percentage is an illustrative budgeting choice, not a manufacturer’s promise or a remedy for porous surfaces.
If the hypothetical wall paint comes in 5-litre and 2.5-litre tins, one of each supplies 7.5 litres. The difference from the 6-litre base requirement is 1.5 litres, already including the 0.6-litre allowance. Do not add another reserve simply because you rounded to tins. If ceiling paint comes in 1-litre and 2.5-litre tins, 2.5 litres alone falls short of the allowance-inclusive target; compare combinations that reach it.
Keep a separate uncertainty note: if confirmed coverage were only 8 m²/litre, the walls would need 7.5 litres before any allowance. Resolve that concern with the supplier rather than hiding it inside rounding.
THE WORKING FILE / LEDGER
One extra coat changes the order more than a small allowance
Keep the article’s hypothetical 30 m² wall area, but challenge the two-coat assumption before ordering. Assume one product covers 10 m² per litre per coat and use an explicitly chosen 10% planning allowance. Available tins are 5 L and 2.5 L. No ceiling, trim or primer quantity is included here.
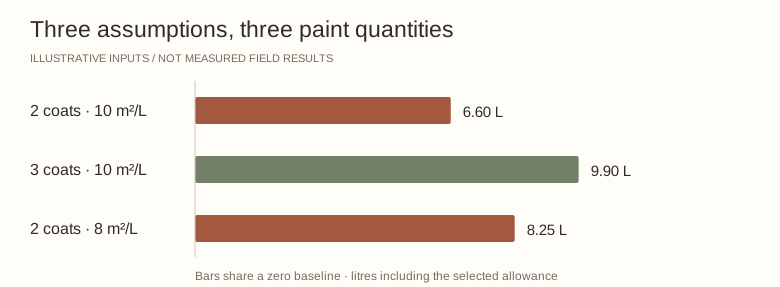
| Scenario | Base paint | After 10% allowance | Example unopened tins |
|---|---|---|---|
| Two coats | 30 × 2 ÷ 10 = 6 L | 6.6 L | 5 L + 2.5 L = 7.5 L |
| Three coats | 30 × 3 ÷ 10 = 9 L | 9.9 L | 5 L + 5 L = 10 L |
| Two coats at 8 m²/L | 30 × 2 ÷ 8 = 7.5 L | 8.25 L | 5 L + 5 L = 10 L |
Read the result
The extra coat increases base consumption by 50%; the small allowance never covered that possibility. Lower actual coverage also moves the two-coat order from 7.5 L to 10 L with these pack sizes. Resolve the coating system first, then the uncertainty in coverage, then pack rounding. Buying the larger combination is not itself evidence that the larger volume is necessary.
Your ledger record Blank worksheet
Produce a separate quantity and unopened-tin decision for each paint product.
- Surface / colour / finish
- ________________________________
- Net area m²
- ________________________________
- Coverage m²/L/coat
- ________________________________
- Specified coats
- ________________________________
- Primer separate?
- ________________________________
- Allowance % and reason
- ________________________________
- Required litres
- ________________________________
- Pack options
- ________________________________
- Unopened volume
- ________________________________
- Order checked by
- ________________________________
Before closing the file
- Primer, ceiling and wall products are separate lines.
- Coverage is per coat.
- Pack rounding is not followed by another automatic allowance.
Check the order, then use the ledger during painting
Before opening anything, match every tin to its ledger line: product, colour code, sheen and volume. Check batch information and ask the supplier about consistency when several tins serve one continuous surface. Confirm the colour decision before committing the full order, and check the seller’s terms for tinted products.
During application, follow the label’s preparation, ventilation and recoat instructions. Keep a record of approximate consumption after completing a known area. If consumption is unexpectedly high, pause at a natural boundary and recheck area, coat count and substrate assumptions with the supplier. Do not stretch the remaining paint by adding unapproved thinner or spreading it beyond the specified coverage.
Judge coverage after the specified drying interval, in daylight and normal room lighting. Look for visible underlying colour, patchiness and inconsistent sheen. A finish needing another coat requires an updated quantity calculation. Persistent staining or adhesion failure calls for advice about the coating system rather than repeated extra coats.
Finally, record what was actually used and retain the product details for future repairs. Store any remainder according to its label. Your completed ledger should explain every leftover tin: deliberate reserve, pack-size surplus or a changed scope. That record makes the next room easier to estimate.
THE REFERENCE FILE
Sources & scope
Documentation reviewed 1 Nov 2026. Examples are illustrative; this article does not claim hands-on product testing. Follow the instructions for your actual material, model and location.