A pet bed can have a clean-smelling cover wrapped around a damp insert. That is why the care job needs two separate records: one for the removable fabric and one for the filling or cushion. Before starting, provide the pet with a suitable temporary resting place. Then work through hair removal, compatible washing and a deliberate reassembly check.
Identify every component before unzipping
Find the pet bed's label and product information. Check whether the cover, inner liner and insert have different instructions. Photograph their orientation and zipper arrangement so reassembly is straightforward. A zipper can allow access for manufacture without authorising a home wash of everything inside.
Inspect for tears, exposed filling and loose fasteners that could worsen in a machine or become accessible to the pet. Repair only where the manufacturer supports a safe repair; replace an item whose filling cannot remain contained. Keep damaged parts out of the laundry queue until that decision is made.
CDC advises following pet-item cleaning instructions and gives a weekly example for beds and blankets, with more frequent care when needed. Use the bed's actual condition and the household situation to plan the session. Illness, repeated accidents or special veterinary advice may require a different process from routine cover washing.
Remove hair and loose debris first
Carry the bed to a suitable cleaning area without shaking it through the home. Keep it away from food preparation surfaces. Use a permitted vacuum attachment or fabric tool to collect loose hair from the cover before removal. Inspect the tool for rough edges that could snag the weave.
Work along the sleeping hollow, seams and underside. Lift loose debris into a waste container rather than brushing it into the room. Do not add water while clumps of hair remain trapped in a folded edge; that can make the later handling less manageable without improving the wash.
Once the cover is removed, look at the insert separately. A dry insert with ordinary dust has one care question; a wet or deeply soiled insert has another. If the insert has no clear home-cleaning route, contact the maker. Do not saturate foam because the outer cover will fit in the washer.
Decide whether this is routine care
Check for ordinary hair and soil versus urine, faeces, vomit or signs of illness. This workflow focuses on routine care of a bed whose instructions support the planned cleaning. CDC distinguishes cleaning from disinfecting and identifies situations where additional disinfection may be appropriate. Follow relevant guidance or veterinary advice for those situations.
Do not assume that a strong fragrance establishes a clean bed or that a household deodoriser disinfects it. Do not spray surface disinfectant onto a pet or use one on a soft bed unless the label expressly permits that item and application. Keep the pet away during the process.
If the bed has an uncleanable insert repeatedly affected by accidents, ask whether a replaceable insert or another bed design would be more manageable. A cover-only wash cannot resolve material held deep inside. Record that limitation so the household does not continue the same ineffective routine while expecting a different result.
Wash the cover within its exact care limits
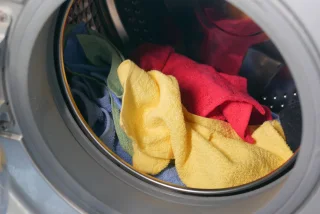
Close or position fasteners as directed and choose a compatible wash programme. ACI's laundry guidance emphasises grouping by care instructions and soil. Do not add delicate personal garments simply because the drum has space. Remove any accessory that the pet-bed instructions tell you to detach.
Measure an appropriate laundry detergent according to its label and your washer's requirements. Avoid adding fabric softener, bleach or another booster unless the cover and product instructions permit it. A sensitive pet may need a particular product choice; discuss persistent skin concerns with a veterinarian rather than making a health claim for a laundry product.
Check the washer's capacity guidance for bulky items and do not force a cover-and-insert assembly into a programme intended for small textiles. If a large cover cannot move properly within the permitted route, use a suitable facility or professional option. Fitting through the door is not the complete capacity assessment.
Dry for the seams as well as the panel
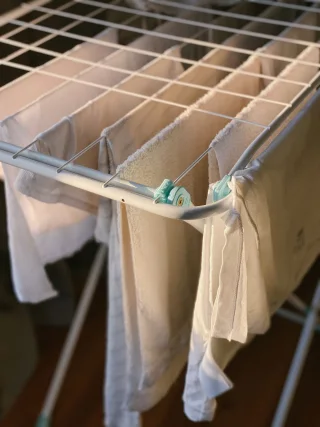
Follow the label's tumble or natural-drying instructions. GINETEX's symbol explanations can clarify the prescribed route, but do not use them to invent a missing setting. Spread the cover so thick binding and corners are not buried beneath a dry-looking top panel.
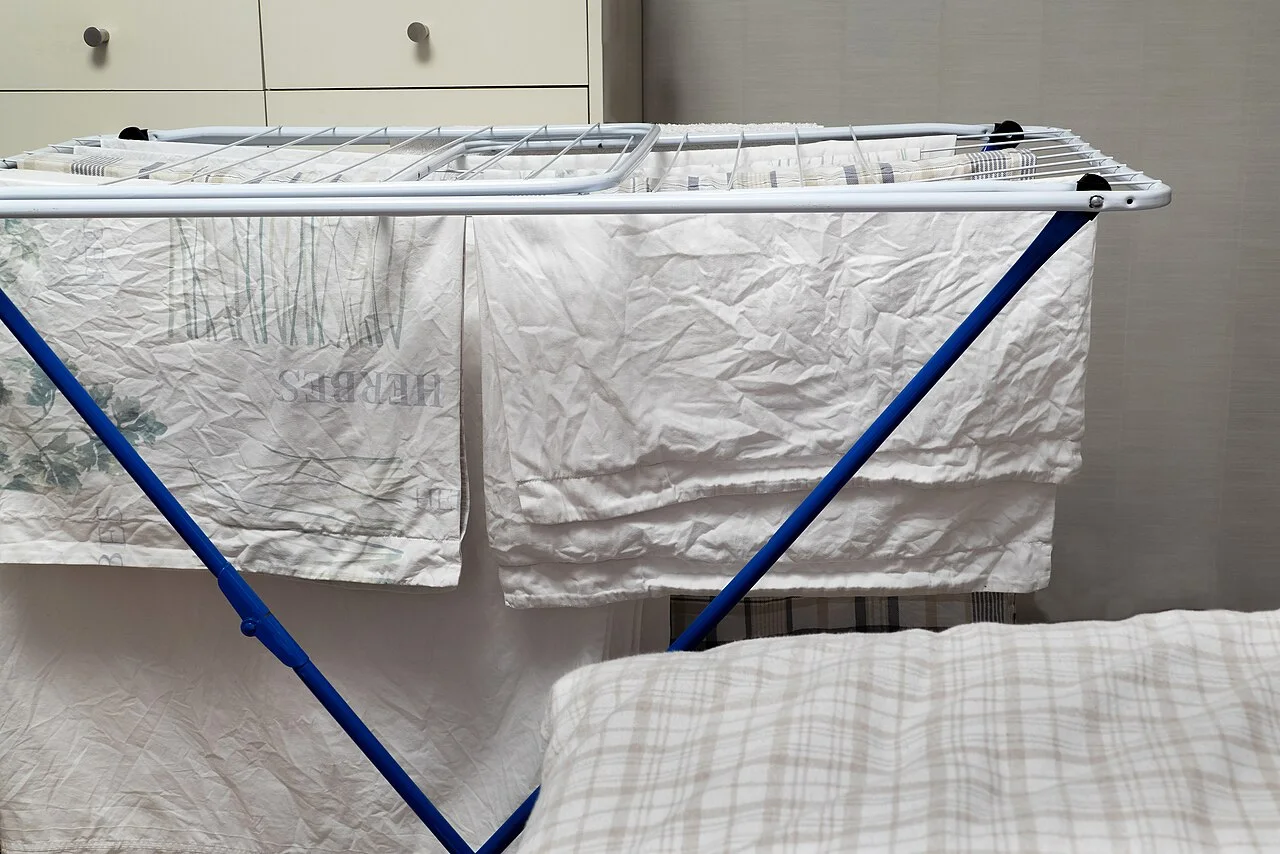
The reference shows laundry distributed over rack bars. It illustrates a drying arrangement, not a washed pet bed or proof that an insert is dry.
Photo & usage
W.carter · CC BY-SA 4.0 · Source. Display copies resized and encoded as WebP; no instructional details were fabricated or removed.
Inspect the zipper tape, seam allowances and elastic or bound edges. Turn accessible folds gently and compare with an unquestionably dry area. Continue the permitted drying process if any section remains damp or uncertain. Do not put a cover over an insert to make the bed look finished while its edges are still wet.
Dry an insert only by its own approved route. Large filling can remain damp where you cannot readily inspect it; surface touch is limited evidence. If the maker cannot provide an appropriate care method after deep wetting, replacement may be necessary. Keep that decision separate from whether the cover washed successfully.
Use an illustrative reassembly comparison
The entries below are invented observations, not results of washing pet beds. They show how component status controls the next step. No universal drying time or heat setting is implied by the table.
| Part | Finding | Reassembly decision |
|---|---|---|
| Cover centre | Dry and clean | Ready separately |
| Cover zipper edge | Still damp inside fold | Continue approved drying |
| Insert | Deep wetting; no home-wash permission | Contact maker before reuse |
The bed cannot return to use by averaging these findings. The unresolved insert and damp zipper edge each keep the assembly open. A spare cover helps only if the insert itself is ready. Keep the temporary resting place available until the complete bed, rather than its most visible part, meets the appropriate return-to-use conditions.
Check the underside after the bed returns
At the next routine inspection, look beneath the pet bed as well as at its sleeping surface. A bed returned to a damp floor or positioned where spills recur can become wet again even after a successful wash. Check the location without assuming a new smell proves a failed detergent.
Keep the bed on a surface and in a position permitted by its maker. If ventilation or drying access is poor, reconsider the placement rather than repeatedly washing only the cover. Inspect the floor finish before adding a waterproof mat, since a barrier can also hide moisture beneath it. Record the actual observation: damp underside, dry floor or repeated bowl splash. That information gives the next care session a specific starting point and separates a placement problem from an unfinished laundry task.
Check that the temporary resting place is also ready to put away. It may have collected hair or become soiled while the main bed was unavailable. Give it its own permitted cleaning and drying route rather than folding it directly into storage. This prevents the next bed-care session from beginning with an unexamined spare that only appears clean.
Return the bed with a final handling check
Reassemble on a clean dry surface. Confirm that the insert sits correctly, the zipper closes without force and no filling or loose hardware is accessible. Inspect for shrinkage that places seams under tension. If the cover no longer fits safely, resolve it with the manufacturer instead of cutting or stretching it into place.
Clean the floor where the bed normally sits before returning it. Wash and dry the tools by their own instructions and wash hands after handling the dirty components. Keep pet supplies separate from food preparation and return laundry products to secure storage.
Record only recurring exceptions: a slow-drying seam, an insert that needs professional care, or a replacement decision. The next wash should begin with those facts available. A completed pet bed is a clean, dry, intact assembly with a known care route, rather than a fresh cover concealing an unresolved interior.
THE REFERENCE FILE
Sources & scope
Documentation reviewed 1 Nov 2026. Examples are illustrative; this article does not claim hands-on product testing. Follow the instructions for your actual material, model and location.