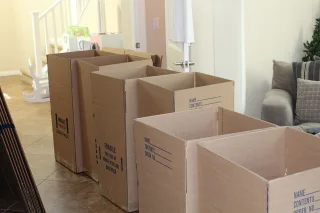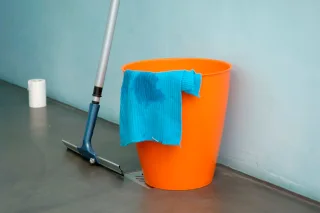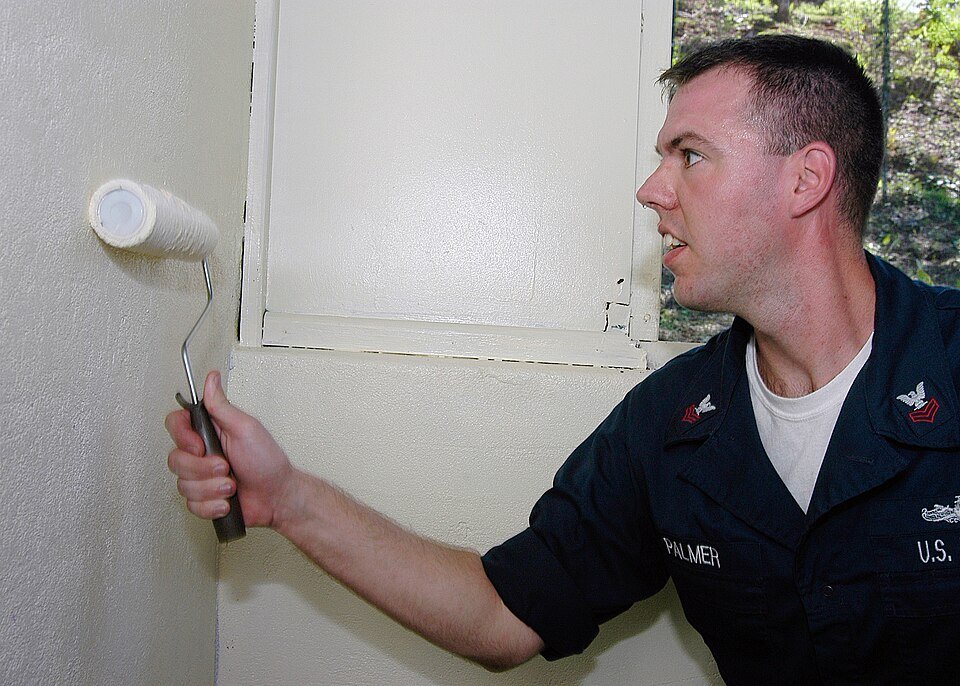
A scuff beside a doorway can be removable transfer, a scratch or a change in paint sheen. Scrubbing treats all three as dirt and may create a larger shiny patch. Before a move-out wall clean, identify the finish, document the mark and test a compatible gentle method. Keep any repair or repainting decision separate from routine cleaning and do not promise a particular inspection outcome.
Record the scuff and the surrounding finish
Photograph the mark with enough surrounding wall to identify its location. Take a normal viewing image and, if helpful, an angled-light image that shows sheen. Avoid filters or wetting the wall to make the mark more visible. Keep the original files with a dated note.
Compare the area with any move-in record without inferring legal responsibility. Describe what is visible: dark transfer near a chair, a scratched line or a shiny patch at hand height. These are useful practical observations. A household cleaning article cannot determine deposit deductions or settle a tenancy dispute.
Inspect for peeling paint, dampness or a soft wall surface. Those conditions need separate assessment rather than more rubbing. Keep ordinary scuff care limited to an intact painted surface with a known or resolvable care route. Do not sand, scrape or disturb old coatings as part of cleaning.
Find the paint information before choosing a method
Look for paint records, a labelled leftover container or information from the owner or decorator. Check product, sheen and approximate painting date. Matte, flat, satin and semi-gloss finishes can respond differently to handling, and the exact product may have its own cleaning and curing instructions.
Sherwin-Williams' wall-cleaning guidance recommends gentle nonabrasive methods, warns against excess water and calls for a hidden test. Its maintenance FAQ also advises nonabrasive cleaner and testing. Use those general principles while following the actual paint product's directions. A recently painted wall may need a longer specified cure period before cleaning.
If the finish is unknown, ask for clarification rather than assuming a washable-looking sheen establishes washability. Keep the request specific to the marked wall. Do not borrow a bathroom tile product or a kitchen degreaser without explicit compatibility for the paint and intended application.
Remove loose dust without abrading the film
Use a clean soft tool permitted for the finish to remove ordinary loose dust before wet treatment. Inspect the cloth or brush for grit. A hard particle can scratch the film while you are trying to remove a harmless surface deposit. Keep the floor beneath protected with a suitable clean material.
Work gently around the mark rather than concentrating repeated strokes on one point. Stop if paint flakes or a powdery coating transfers unexpectedly. A deteriorated finish needs a different decision from an intact wall with shoe transfer. Do not continue until a bare or shiny patch appears and then call it cleaned.
Keep water away from sockets and switches and do not spray liquid into openings. If the mark lies around electrical fittings, follow appropriate safe surface-care instructions without removing covers or working on the electrical installation. The cleaning route should remain a surface task with a clear boundary.
Test a small concealed area and let it dry
Choose an inconspicuous area with the same paint and condition. Prepare the permitted mild cleaning solution according to the product directions. Use a soft clean cloth or sponge and wring it as directed so excess liquid does not run down the wall.
Apply a gentle controlled test, perform any required rinse and let the area dry fully. View it from the same angles as the untreated finish. Look for a water outline, colour change or new shine. A patch that looks acceptable while wet has not completed the comparison.
Do not substitute an abrasive sponge, scouring powder or a stronger cleaner after a failed mild test without paint-specific support. An abrasive tool can burnish a matte surface even when it removes the dark transfer. If the test changes sheen, stop and seek advice rather than extending the method to the visible scuff.
Compare dirt, burnishing and damage
The following observations are invented and illustrative, not results from testing painted walls. They explain why a reduced dark mark is only part of the assessment. Inspect the dry surrounding finish as carefully as the centre.
| Dry observation | Possible interpretation | Next step |
|---|---|---|
| Dark transfer gone; sheen matches | Acceptable cleaning result | Finish within permitted method |
| Dark transfer reduced; shiny oval remains | Possible burnishing or prior wear | Stop rubbing; assess finish |
| Line remains with exposed underlayer | Possible scratch through paint | Consider authorised repair |
These are observations, not a definitive material diagnosis. A photograph may not distinguish all paint conditions. Describe the result accurately when asking the paint maker or responsible property contact for advice. Do not keep cleaning a scratch in the hope that the missing paint is a removable stain.
Treat the visible mark with the tested approach
If the hidden test is acceptable and the method is authorised, apply the same controlled approach to the visible mark. Keep pressure light and observe the boundary. Use fresh cloth faces rather than dragging collected soil across the wall. Perform the instructed removal or rinse step without flooding the surface.
Pause when useful transfer stops or the finish begins changing. A faint remaining mark can be less conspicuous than a large damaged sheen patch. Do not enlarge the treatment area repeatedly without a reason supported by the paint instructions. Record the product and method used for any later assessment.
Allow complete drying before final judgment or photography. Wet paint film can appear darker, glossier or cleaner than it will when dry. Keep furniture away as needed to avoid contact during this stage. Do not hang artwork or apply adhesive over the area to hide an unresolved result.
Separate cleaning from repair permission
A persistent scratch, chip or sheen change may need touch-up or repainting, but that is a separate decision. Confirm the relevant authorisation before irreversible work. Matching a colour name alone may not reproduce an aged finish, product or application texture.
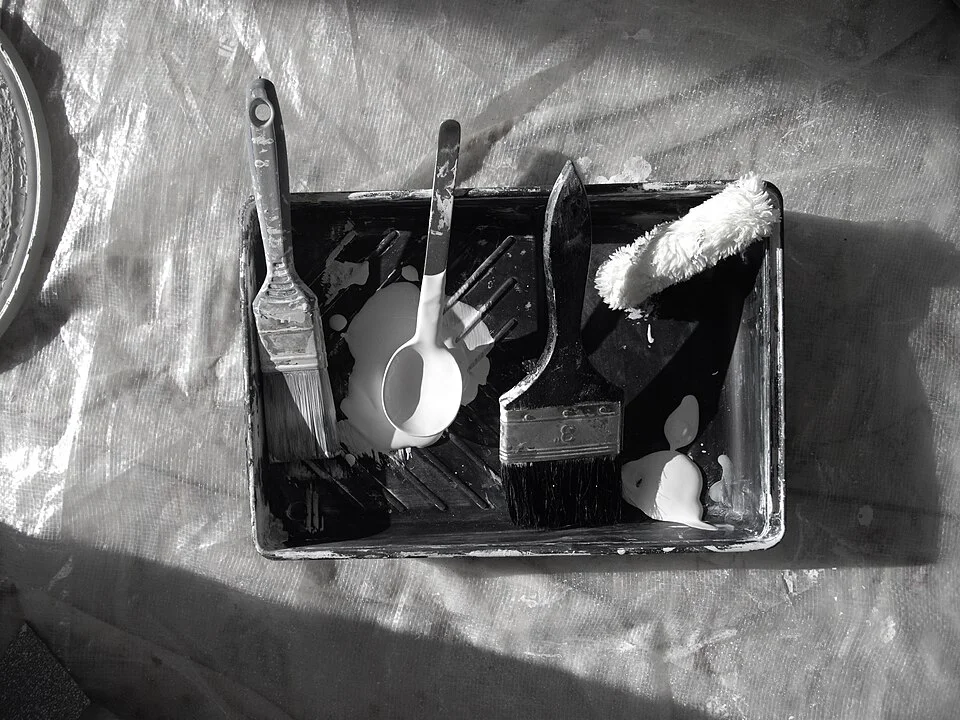
The tray, brushes and roller belong to a painting job, a separate intervention from assessing a cleaned wall scuff. Record the dry cleaning result and obtain the required repair permission before opening a paint route. Matching a colour name does not establish that these tools or a small patch will reproduce the existing finish.
Photo & usage
whereareyousimon · CC BY 2.0 · Source. Display copies resized and encoded as WebP; no instructional details were fabricated or removed.
Sherwin-Williams notes that touch-up appearance depends on factors including the original paint and application method. Discuss the likely result with the responsible person or a suitable professional. Do not promise that a tiny roller patch will disappear into every wall or that cleaning documentation guarantees approval.
Keep the record concise: starting condition, cleaning method, dry result and unresolved repair question. If advice is obtained, preserve its scope. A recommendation for one painted wall does not become permission to use the same method on woodwork, wallpaper or another room with a different finish.
Close the room with a factual handover
Remove protection carefully and clean any ordinary drips by a compatible floor method. Wash and dry reusable tools, return products to original storage and check that no damp cloth remains against skirting. Keep the room accessible and the treated wall dry before replacing furniture.
Take final photographs under lighting comparable to the initial record. Identify remaining marks without exaggerating permanence or responsibility. A note such as “dark transfer reduced; dry sheen patch remains; no further rubbing” gives another person a concrete basis for the next decision.
The task is complete when removable soil has received a permitted treatment, the dry finish has been inspected and repair questions are explicit. That protects the wall from deadline-driven scrubbing while making the move-out record clear enough for someone else to review.
Keep the hidden-test photograph with the visible-mark record. Identify where the test was placed so another person does not mistake it for unrelated wear. If the test produced a sheen change, document that result honestly and stop the method. A failed small test is useful evidence only when its location and treatment history remain available for the next assessment.
THE REFERENCE FILE
Sources & scope
Documentation reviewed 1 Nov 2026. Examples are illustrative; this article does not claim hands-on product testing. Follow the instructions for your actual material, model and location.