An empty room makes floor marks easier to see, but it can also tempt you to scrub every imperfection as though it were dirt. Before the final move-out clean, record the starting condition and locate the floor-care instructions. Clean within those limits, then document what remains. The record supports a clear handover; it does not predict a landlord's decision or determine a deposit outcome.
Record the room before treating marks
Photograph each room from a consistent doorway position and take closer views of visible marks. Include enough surrounding floor to show location. Use ordinary clear lighting without filters that hide scratches or exaggerate shine. Keep original files and a short note describing the area.
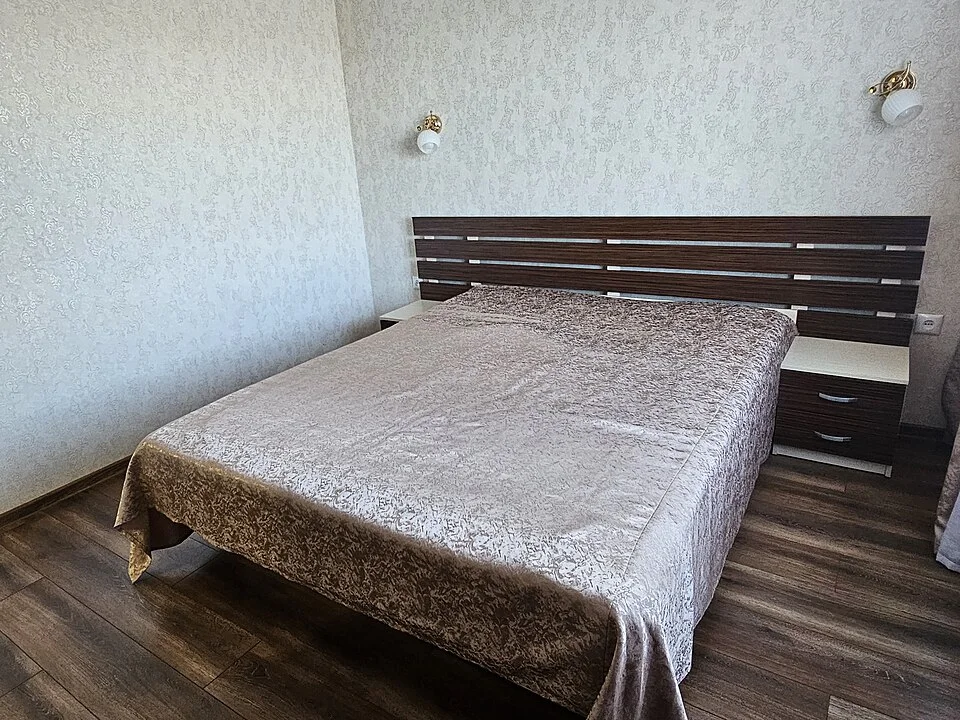
The room view includes the bed, bedside drawers and the floor strips that remain accessible around them. Use a consistent doorway view for your own record, then take closer photographs of specific marks with enough surroundings to locate them. The reference reports no move-out condition or responsibility; note inaccessible areas instead of shifting heavy furniture merely to make the photograph look complete.
Photo & usage
Tess Mattew · CC BY-SA 4.0 · Source. Display copies resized and encoded as WebP; no instructional details were fabricated or removed.
Separate pre-existing wear documented at move-in from new observations. Do not infer legal responsibility from a cleaning guide. The useful practical record is factual: a scratch near a door, a stained carpet patch beside a radiator or a dull traffic lane. Keep dates and descriptions accurate.
Avoid moving heavy appliances or furniture simply to expose more floor without a safe plan and permission where needed. Check for cables and floor-protective requirements. If access needs specialist help, record the limitation. An injury or a fresh drag scratch is not a sensible trade for a more complete photograph.
Identify every floor and its care source
Find product or installation records for wood, laminate, resilient flooring, tile and carpet separately. A room may contain several surfaces. Ask the owner or manager for care information if the finish is unknown, and save the answer. Appearance alone is not enough to establish a safe wet-cleaning method.
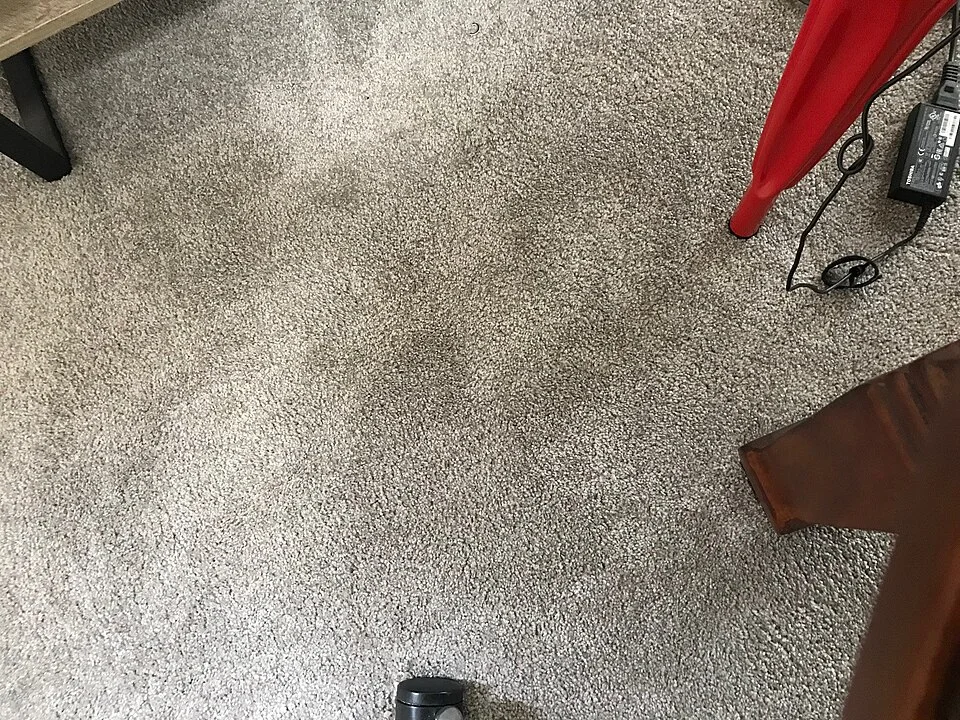
The close view records a textile floor surface and the objects limiting access around it. Identify carpet fibre, backing and care instructions separately from the room’s other flooring before applying any spill method. This photograph cannot establish the carpet’s fibre or washability, and a wood-floor cleaner or bathroom descaler should not be transferred to it merely because both surfaces are in the same home.
Photo & usage
Uhave1newmessage · CC BY-SA 4.0 · Source. Display copies resized and encoded as WebP; no instructional details were fabricated or removed.
NWFA advises bare-floor vacuum settings and warns against wet or steam mopping wood. Shaw's carpet guidance emphasises blotting spills rather than abrasive rubbing. These are useful material-specific boundaries, but your exact product may have additional restrictions. Do not apply a carpet spot recipe to a wood mark or a bathroom descaler to an unidentified tile.
Check any supplied move-out cleaning list against material compatibility. If a requested method appears to conflict with the floor instructions, raise the specific conflict before treatment. Keep the enquiry factual and focused on the product. Do not promise that following one list automatically satisfies every inspection requirement.
Remove dry debris before judging the surface
Clear ordinary loose dirt by a compatible vacuum or sweeping method. Inspect the tool for grit, rough edges and correct settings. Work through edges and accessible corners without scraping skirting or forcing a head beneath a fixed cabinet. Keep collected debris contained.
Look again after dry debris is removed. A dark line can become a visible scratch once dust is gone; an apparent stain may be a removable loose deposit. Record the change without immediately applying liquid. This second observation reduces the temptation to treat every dark area with the same product.
On carpet, inspect loose objects and accessible edges before vacuuming. Follow the carpet and appliance instructions for head selection and brush settings. CRI's care guide discusses keeping purchase and care records; use that principle to preserve the exact product instructions alongside the handover photographs rather than relying on memory.
Treat a limited mark within the finish instructions
Choose a product expressly compatible with the floor and the intended task. Test a concealed representative area where directed, then compare after drying. Do not start with the most visible mark as the first compatibility test. Keep the product label and any dilution record available.
For a carpet spot, follow the carpet manufacturer's blotting and product instructions without aggressive scrubbing. For wood, use the permitted cleaner and controlled moisture route. Do not borrow a harsher chemical because a mark survived the first pass. A persistent scratch or wear patch is not necessarily removable soil.
Stop if the surface loses colour, becomes tacky, swells, roughens or changes sheen. Photograph the change and seek advice. Repeated polishing or scrubbing can enlarge a small issue into a much more visible area. The cleaning boundary should be based on the material response, not the approaching handover deadline.
Compare the before and after record
The entries below are illustrative and invented. They describe possible move-out observations, not results from testing floors or cleaners. They separate cosmetic improvement from condition changes that need a different discussion.
| Location | After compatible cleaning | Handover description |
|---|---|---|
| Entry grit line | Loose deposit removed | Cleaned; no remaining visible line |
| Desk-chair area | Dull patch remains | Possible wear; treatment not escalated |
| Carpet beside sofa | Spot reduced but visible | Residual mark; product history recorded |
Use the same lighting and viewing direction for the final photographs where practical. A glossy wet floor can conceal or exaggerate features, so wait for the permitted drying condition before comparing. Do not label a remaining mark permanent unless an appropriate assessment supports that conclusion. “Still visible after directed cleaning” is a precise and defensible observation.
Decide whether professional care is justified
For an unresolved valuable floor or extensive carpet soil, seek a product-compatible professional assessment. Provide the starting photographs, product identifier and treatment history. Ask what method is proposed and whether it follows the flooring maker's requirements. Keep any quote separate from an assumption about inspection approval.
Do not commission sanding, refinishing or other irreversible work as an extension of routine cleaning without the relevant authorisation. A move-out deadline does not make those actions ordinary housekeeping. If the floor is damaged, the next step may be a condition discussion rather than more cleaning.
Where professional cleaning is required or chosen, retain the invoice and factual service description. Do not describe a receipt as proof that every mark was removed or every policy satisfied. Verify the visible result after the permitted drying interval and preserve any limitations supplied by the service provider.
Finish without reintroducing moving debris
Schedule the final floor pass after ordinary packing and heavy movement where possible. Protect compatible floors during any remaining move and remove protection carefully so grit is not dragged across the surface. Check the final exit path and corners where boxes stood.
Keep wet-floor areas clear until the product's return-to-use conditions are met. Do not lay cardboard or plastic over a damp surface to stage photographs or speed departure. Inspect accessible edges and remove loose debris left by packing tape, cable ties or protective materials using a compatible method.
Clean and dry reusable tools before transporting them with other belongings. Keep chemicals in original containers and follow transport and storage instructions. The final clean should not leave an unlabelled bottle or wet mop for the next occupant to interpret.
Hand over a concise factual file
Group room photographs, relevant care documents and any professional service record in a clearly named folder. Add a short list of unresolved visible marks and the treatment used, if any. Avoid lengthy speculation about who caused a mark or what a future reviewer must conclude.
Compare the final room with your scope: accessible floor cleaned, remaining debris removed, any excluded area identified and surface changes recorded. Check that the photographs correspond to the correct room and date. An orderly record is useful only when another person can match it to the actual floor.
The task closes with a dry, inspected floor and an accurate account of its condition. It gives the handover a concrete basis while respecting the difference between cleaning, wear, repair decisions and whatever assessment the responsible party later makes.
Keep a separate copy of the photographs before sharing them through any service that compresses images. File names should identify room and sequence, while the written note explains the mark. Preserve the original view rather than cropping away every location clue. A close-up becomes easier to assess when a wider image shows which corner or doorway it belongs to.
THE REFERENCE FILE
Sources & scope
Documentation reviewed 1 Nov 2026. Examples are illustrative; this article does not claim hands-on product testing. Follow the instructions for your actual material, model and location.